Development - Writing an integration tests with Playwright
This guide explains how to create and run integration tests using Playwright in your Alokai multistore project. Integration tests verify that different parts of your store work together correctly by:
- Running against composed stores (respecting inheritance)
- Using mocked API responses to test user flows without external services
- Verifying UI components and page behavior
- Running in the Playwright test runner
What You'll Learn
- Understanding integration tests in multistore setup
- Creating and configuring test mocks
- Writing your first Playwright test
- Running tests locally
Prerequisites
Before writing integration tests, make sure you understand:
- File-based inheritance - Tests follow the same inheritance rules as your stores
- Familiarity with managing the stores
- Basic knowledge of Playwright
Adding Integration Tests - Real-World Example
Let's walk through adding integration tests to a fashion-brand store that uses an LLM-based recommendations system to suggest products based on user behavior and preferences.
Here's our project structure:
The base storefront-unified-nextjs/ holds shared code. In fashion-brand/, storefront-middleware/ holds middleware customizations including the recommendations.ts LLM recommendations logic, while storefront-unified-nextjs/ holds frontend customizations including the page.tsx recommendations page. sports-brand/ is another store.
In this example:
- The
fashion-brandstore has a custom recommendations extension in the middleware - The extension adds a new
getRecommendationsmethod to the eCommerce API - A new
/recommendationspage displays personalized product recommendations - We would like to test that the recommendations are displayed correctly
Adding features for all stores
If you want to add a new feature for all stores, you can add them to the base apps within the apps/storefront-unified-nextjs, apps/storefront-unified-nuxt and apps/storefront-middleware folders. Similarly, tests that should run for all stores can be added to the apps/playwright folder.
Creating Test Mocks
Mocks simulate API responses during testing, making tests reliable and fast. Let's create the necessary mocks for our recommendations feature.
Mocks are set up with the h3 package. This is a lightweight HTTP server library that is used to create mock APIs for your tests.
1. Create Mock Endpoint
First, create a mock handler for your API endpoint:
// apps/stores/fashion-brand/playwright/mocks/recommendations/endpoints/getRecommendations.ts
import type { MockFactoryContext } from '@core';
import { defineEventHandler } from 'h3';

export default function ({ router }: MockFactoryContext) {
  return router.post(
    `/getRecommendations`,
    defineEventHandler(async (event) => {
      return Promise.resolve([
        // Mock data for recommendations
      ])
    }),
  );
}
2. Create Mock Server Factory
Next, create a server factory to organize your mock endpoints:
// apps/stores/fashion-brand/playwright/mocks/recommendations/server.ts
import type { MockFactoryContext } from '@core';
import { getRecommendations } from './endpoints';

export const serverFactory = [(ctx: MockFactoryContext) => getRecommendations(ctx)];
3. Register Mock Server
Finally, register your mock server by overriding the mainRouterFactory:
- Copy the
apps/playwright/mocks/init.tsfile to your store - Then, add your new mock server to the
mainRouterFactory
// apps/stores/fashion-brand/playwright/mocks/init.ts
import { pipe } from '@core';
import { createRouter, defineEventHandler, sendNoContent, useBase } from 'h3';

import { serverFactory as cmsEndpoints } from './cms/server';
import { serverFactory as unifiedEndpoints } from './unified/server';
import { serverFactory as recommendationsEndpoints } from './recommendations/server';

export const mainRouterFactory = () => {
  const mainRouter = createRouter();

  // ... existing router setup ...

  // Add your new mock router
  const recommendationsRouter = pipe(recommendationsEndpoints, createRouter());
  mainRouter.use(
    '/commerce/recommendations/**',
    useBase('/commerce/recommendations', recommendationsRouter.handler)
  );

  return mainRouter;
};
Creating Page Objects
1. Create Page Object Class
// apps/stores/fashion-brand/playwright/setup/pageObjects/recommendations.page.ts
import { BasePage } from '@core';

export class RecommendationsPage extends BasePage {
  // Define page elements
  public readonly recommendationsGrid = this.page.getByTestId('recommendations-grid');

  override async prepare() {
    // Add custom preparation logic if needed. For example, you
    // can set up the mock database here.
    return this;
  }
}
Learn more about Page Objects Models Page Object Models are a common pattern in test automation that can significantly improve test maintenance and readability. To learn more about implementing effective Page Objects, check out the Playwright Page Object Models documentation.
2. Register Page Object
Playwright Test uses fixtures to establish isolated test environments. Fixtures provide tests with all necessary dependencies and are automatically cleaned up between test runs. Let's register our page object as a fixture. For this, we need to create a new test setup file that will extend the base test setup and add our page object as a fixture.
// apps/stores/fashion-brand/playwright/setup/fashion-brand-test.ts
import { RecommendationsPage } from '@setup/pageObjects/recommendations.page';
import { test as baseTest } from '@setup/test';

// Define the types for our fixtures
interface FashionBrandTestFixtures {
  recommendationsPage: RecommendationsPage;
}

// Extend the base test with our fixtures
export const test = baseTest.extend<FashionBrandTestFixtures>({
  // Each fixture is defined as an async function
  recommendationsPage: async ({ dataFactory, db, framework, frontendUrl, page, utils }, use) => {
    // Setup: Create and prepare the page object
    const recommendationsPage = new RecommendationsPage({ dataFactory, db, framework, frontendUrl, page, utils });
    await use(await recommendationsPage.prepare());
  },
});
This setup:
- Defines TypeScript types for all our fixtures
- Creates page objects that are isolated between tests
- Handles automatic setup and cleanup
- Makes page objects available in test functions
Test Setup Inheritance
fashion-brand-test.ts extends the base test setup with store-specific fixtures. This allows you to reuse base fixtures while adding store-specific test configurations. Instead of overriding apps/playwright/setup/test.ts, you should extend it with your store-specific test setup.
You can now use the recommendationsPage fixture in your tests:
import { test } from '@setup/fashion-brand-test';

test('should show recommendations', async ({ recommendationsPage }) => {
  await recommendationsPage.navigate();
  // ... rest of the test
});
Learn more about Fixtures Fixtures are a powerful concept in Playwright Test that enable isolated test environments, shared setup code, automatic cleanup, and composition of complex test dependencies. To learn more about how fixtures can improve your testing workflow, check out the Playwright Test Fixtures documentation.
Writing Tests
Now you can write your test using the page object and mocks you've created:
// apps/stores/fashion-brand/playwright/tests/recommendations.test.ts
import { expect } from '@playwright/test';
import { test } from '@setup/fashion-brand-test';

test.describe('Recommendations page', () => {
  test('should show recommendations', async ({ recommendationsPage }) => {
    // Navigate to the page
    await recommendationsPage.navigate();

    // Verify recommendations are visible
    await expect(recommendationsPage.recommendationsGrid).toBeVisible();

    // Add more assertions as needed
  });
});
Running Tests
You can run tests in two modes:
Standard Mode
# Run all tests for a specific store
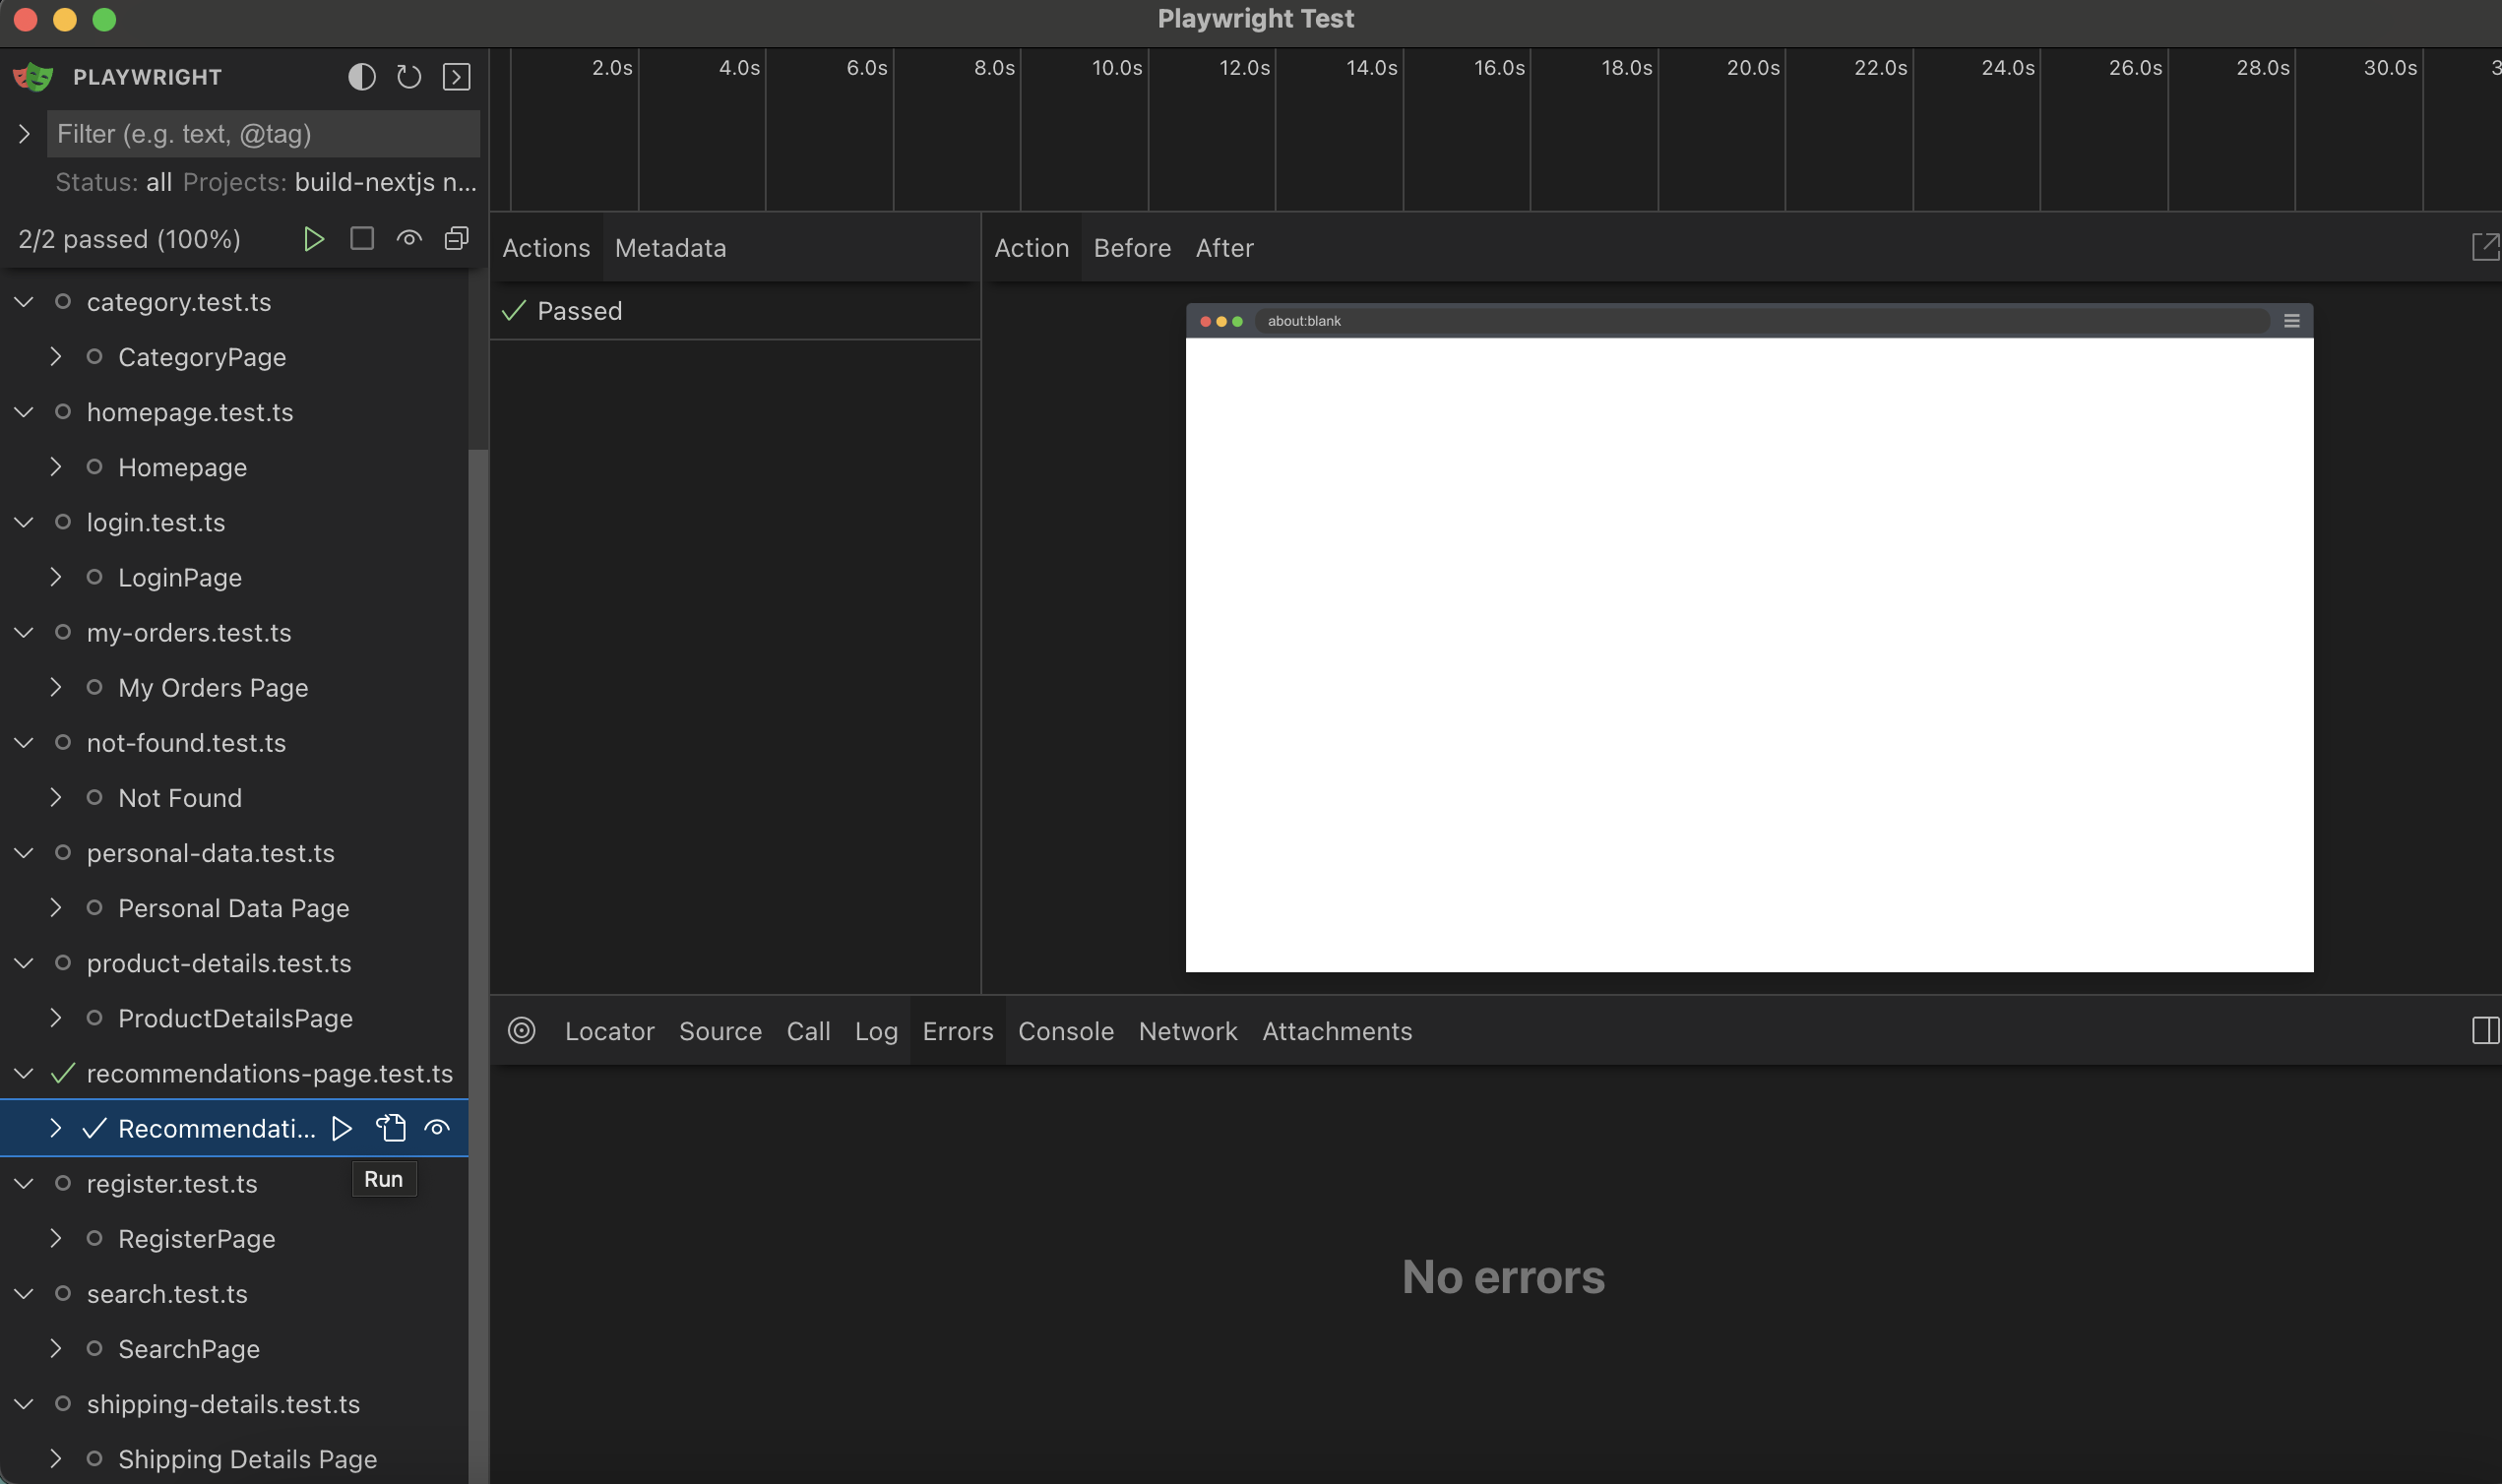
yarn store test --store-id=fashion-brandUI Mode (for debugging)
# Open Playwright UI for interactive debugging
yarn store test --store-id=fashion-brand --ui
UI mode is great for debugging as it shows test execution step by step and lets you inspect the page state.
Advanced Topics
This guide covered the basics of writing integration tests. For more advanced topics, see: