Inspecting network requests
Your Storefront's client-side requests can be easily inspected using built-in browser developer tools. However, inspecting:
- your Storefront's server-side requests,
- your Server Middleware's requests to external services (e.g. e-commerce backends and Content Management Systems)
requires a dedicated tool for capturing HTTP traffic such as HTTP Toolkit.
Setup
Follow the steps below to install and configure HTTP Toolkit on your machine and use it with Alokai Storefront.
Download HTTP Toolkit
Go to the website to download and install HTTP Toolkit on your machine. Choose version suitable for your operating system (Windows, Linux, or macOS).
Using HTTP Toolkit on WSL2 Current HTTP Toolkit installation required some additional steps on WSL2 for request interception to work properly. Follow Installing HTTP Toolkit on Windows guide for the details. Also, WSL2 on Windows 11 has native support for GUI applications and there are no additional steps required. However, WSL2 on Windows 10 requires XServer to run applications with GUI.
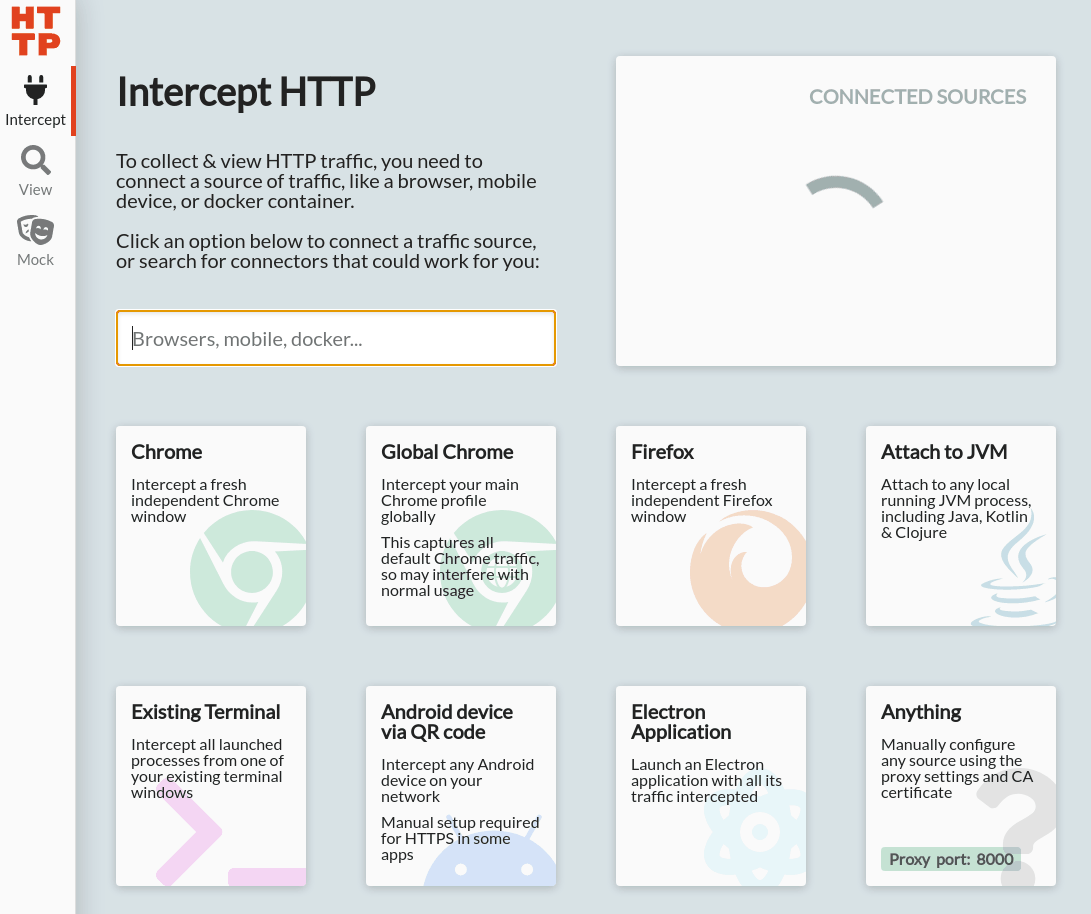
Get setup command
Open the Intercept tab in HTTP Toolkit and select the Existing Terminal tab. It will provide you with a command for setting up HTTP Toolkit interception.
Run setup command
Run the command obtained in the previous step in the terminal from which you will be starting your Alokai Storefront.
eval "$(curl -sS localhost:8001/setup)"Start the Storefront
Finally, run your Alokai Storefront from the same terminal window. If you are using NextJS Alokai Storefront, run it as usual in dev mode:
yarn store dev --store-id=<store-id> --turbo-option=--env-mode=looseyarn devIf you are using Nuxt Alokai Storefront and need to inspect:
- requests sent by the Storefront to the Server Middleware,
- requests sent by the Server Middleware to external services,
we recommend HTTP Toolkit will only work as expected if you build and start your app in production mode:
yarn store build --store-id=<store-id>
yarn store start --store-id=<store-id> --turbo-option=--env-mode=loose
yarn build
yarn startAlternatively, if you are using Nuxt Alokai Storefront and only need to inspect requests sent by the Server Middleware to external services, you can run your app in dev mode but first unset the NODE_OPTIONS environment variable set by HTTP Toolkit's setup command from step #4:
unset NODE_OPTIONS
yarn store dev --store-id=<store-id> --turbo-option=--env-mode=loose
unset NODE_OPTIONS
yarn devNow that you have HTTP Toolkit running and configured, you can start inspecting your Storefront's network requests.
Installing HTTP Toolkit on Windows
Current HTTP Toolkit version (1.23.0) is not working with WSL without additional steps. Follow the guide below to setup everything properly.
Prerequisites
Read the prerequisites before following rest to the HTTP Toolkit installation guide:
- OS: Windows 11,
- WSL2 should be already installed,
- Ubuntu-24.04 should be installed from Microsoft Store.
Download & apply AppArmor Kernel Patches
Ubuntu kernel for WSL is compiled without working AppArmor. Unfortunately, HTTP Toolkit requires it during installation. To enable AppArmor without kernel recompilation, follow these steps:
- Open PowerShell as an Administrator (right click, "run as Administrator).
- Add the
kernelCommandLineparameter to%UserProfile%\.wslconfigusing the command below:
Add-Content -Path "$env:USERPROFILE\.wslconfig" -Value "[wsl2]
kernelCommandLine = lsm=apparmor,landlock,lockdown,yama,loadpin,safesetid,integrity,selinux,tomoyo"-
In the same terminal window, run command
wsl(you might need to go through Ubuntu setup wizard). -
Add the required change to
/etc/fstab, restart systemd daemon and exit WSL by using command:
sudo bash -c "printf 'none     /sys/kernel/security securityfs defaults            0      0' >> /etc/fstab"
sudo systemctl daemon-reload
exit- Restart the WSL:
wsl --shutdown
wsl
Install missing HTTP Toolkit system dependencies:
sudo apt-get clean
sudo apt-get update
sudo apt-get install libgtk2.0-0t64 libgtk-3-0t64 libgbm-dev libnotify-dev libnss3 libxss1 libasound2t64 libxtst6 xauth xvfb libnotify4 libnss3 libxss1 xdg-utils libsecret-common libsecret-1-0
sudo apt --fix-broken install
Download & install HTTP Toolkit
Go to user home directory, download HTTP Toolkit and install it:
cd ~
wget 'https://github.com/httptoolkit/httptoolkit-desktop/releases/download/v1.23.0/HttpToolkit-1.23.0-x64.deb'
sudo dpkg -i HttpToolkit-1.23.0-x64.deb
Run HTTP Toolkit
Once downloaded and installed, run the HTTP toolkit binary.
(httptoolkit &)You should see HTTP Toolkit window opening.
Follow the Setup guide
Now you're ready to enable network interception using HTTP Toolkit. To do so, go back to the "Setup" guide above and follow it from the step 3.