Content Creation
Creating content in Contentstack CMS
The content that you'll create will be strictly connected with your application codebase and the integration. It's super important to keep consistency and overall order.
Let's begin. Go to your Contentstack panel.
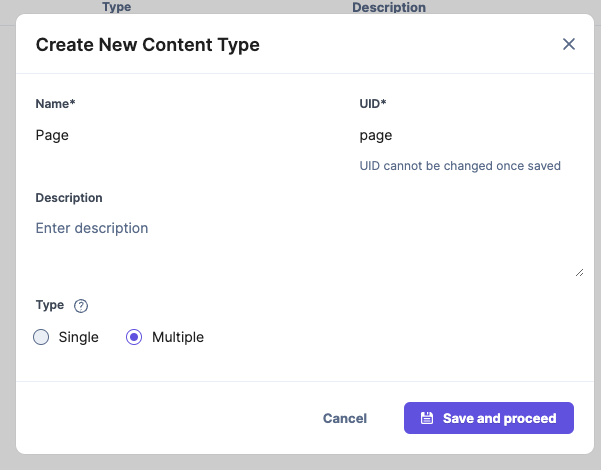
1) In the CONTENT MODELS tab click New Content Type button.

You will see the Content Type creating panel. Provide the name of the new type (i.e. Page).
2) Now when you have your newly created Content Type go to the context menu of it and select Edit.

In the Content Type editing panel add new link field for URL, text field for Component name and one for Modular Blocks.
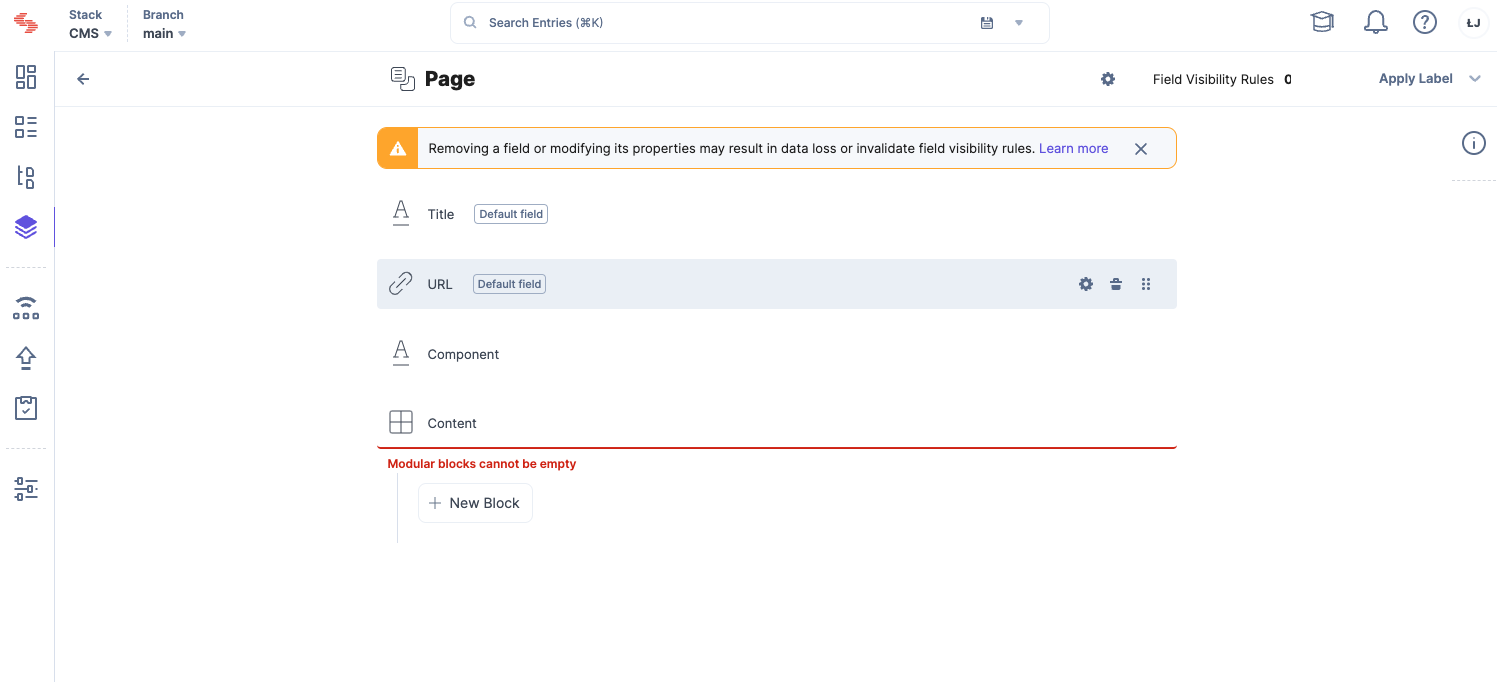
Just after we can create our first component. Click on the New Block button and name it Banner.
If your Banner.vue app component looks more or less like this one below, you should keep consistency between the real Vue component and your Contentstack one.
<script setup lang="ts">
  defineProps<{
    title: {},
    subtitle: {},
    description: {},
    banner_text: {},
    banner_link: {},
    image: {},
  }>()
</script>

<template>
  <Banner
    :title="title"
    :subtitle="subtitle"
    :description="description"
    :button-text="banner_text"
    :link="banner_link"
    :image="image"
  />
</template>
So fill you Contentstack component with the same props, like this.
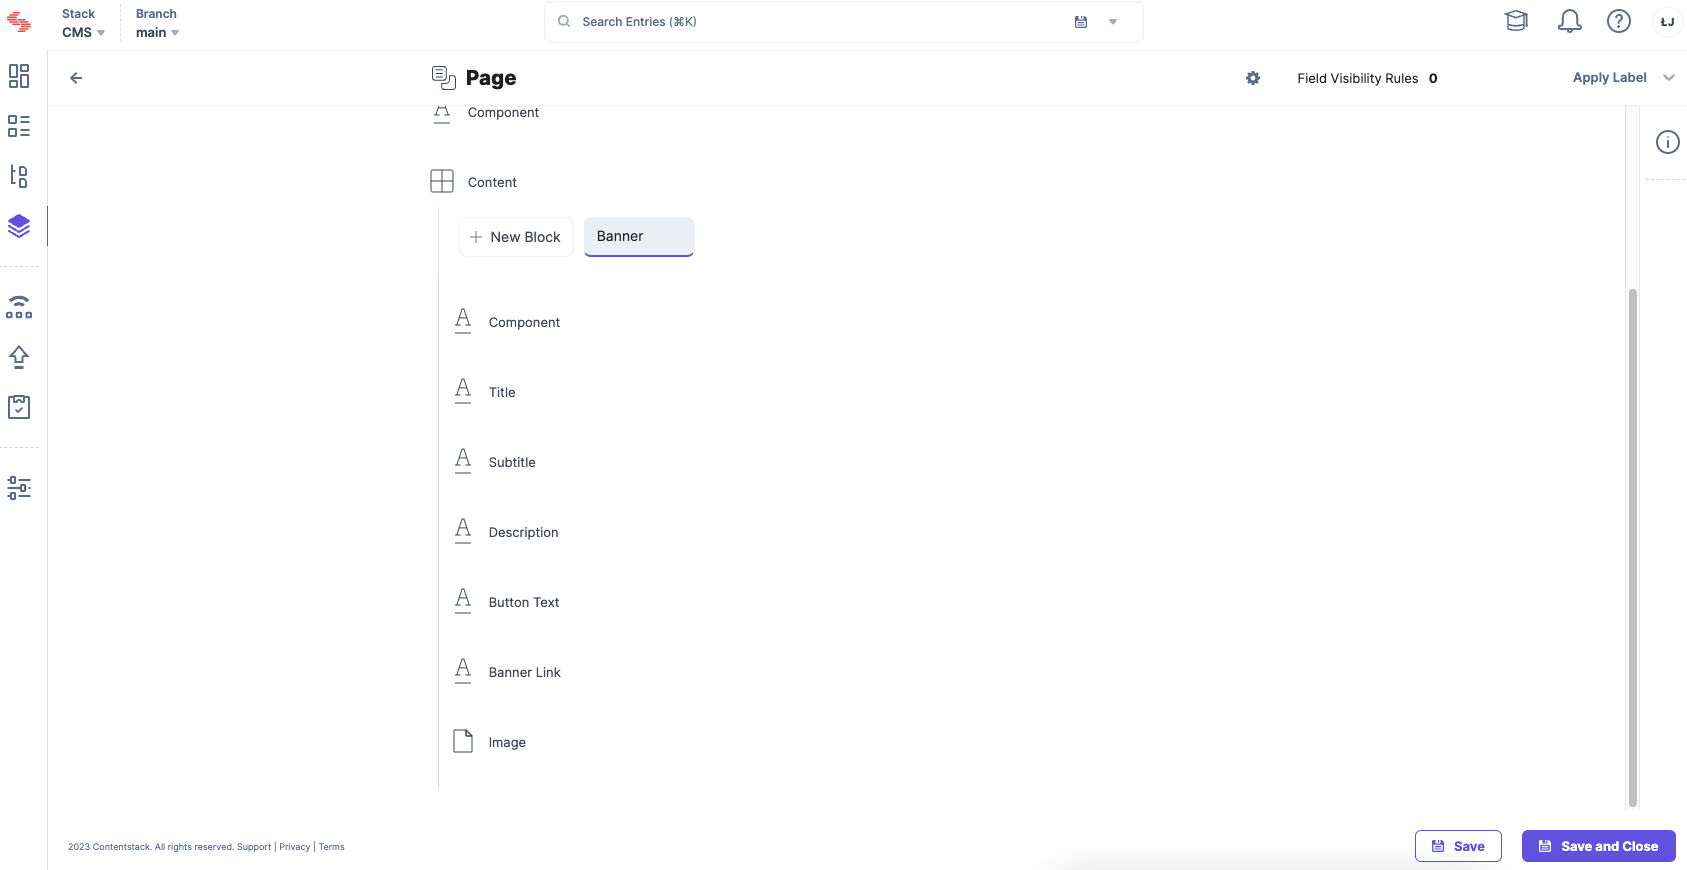
*For the image property use file field.
IMPORTANT: Be sure each component you've created in the Modular Blocks has the Component text field with app component corresponding name.
You can assume that the content you'll receive from the Contentstack integration will look like this one below.
content: [
  {
     component: 'Banner', // name mapped to the Banner.vue
     title: 'Your title',
     ...
  }
]
For this Content Type you can create that many components as you want to use along with your final content structure. So if you want to build your page from Banner and HeroSlider components create representation of them, here in the related Content Type. Just add a new BLOCK per component.
3) OK, now jump to the ENTRIES tab again and select Page fom the list.
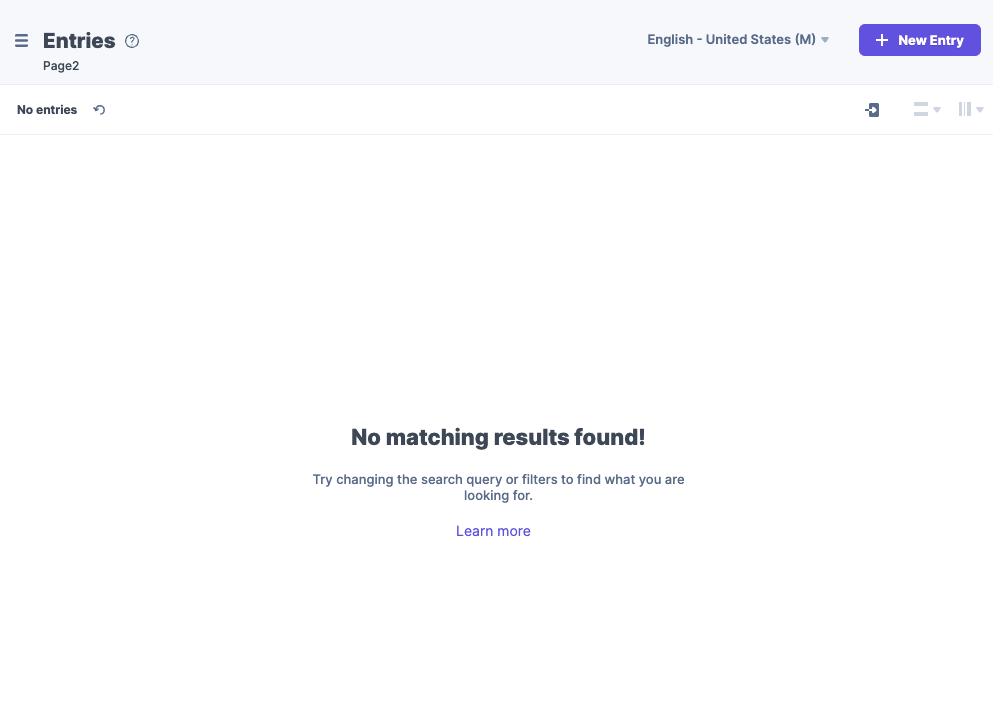
Here you'lle see your Page (Content Type) based pages list. List will be empty so, we have to create a new entry. Click on the New Entry button.
In the Page content creating panel you can define page url, meta and components structure. Add new component from the bottom allocated list and fill it with data.
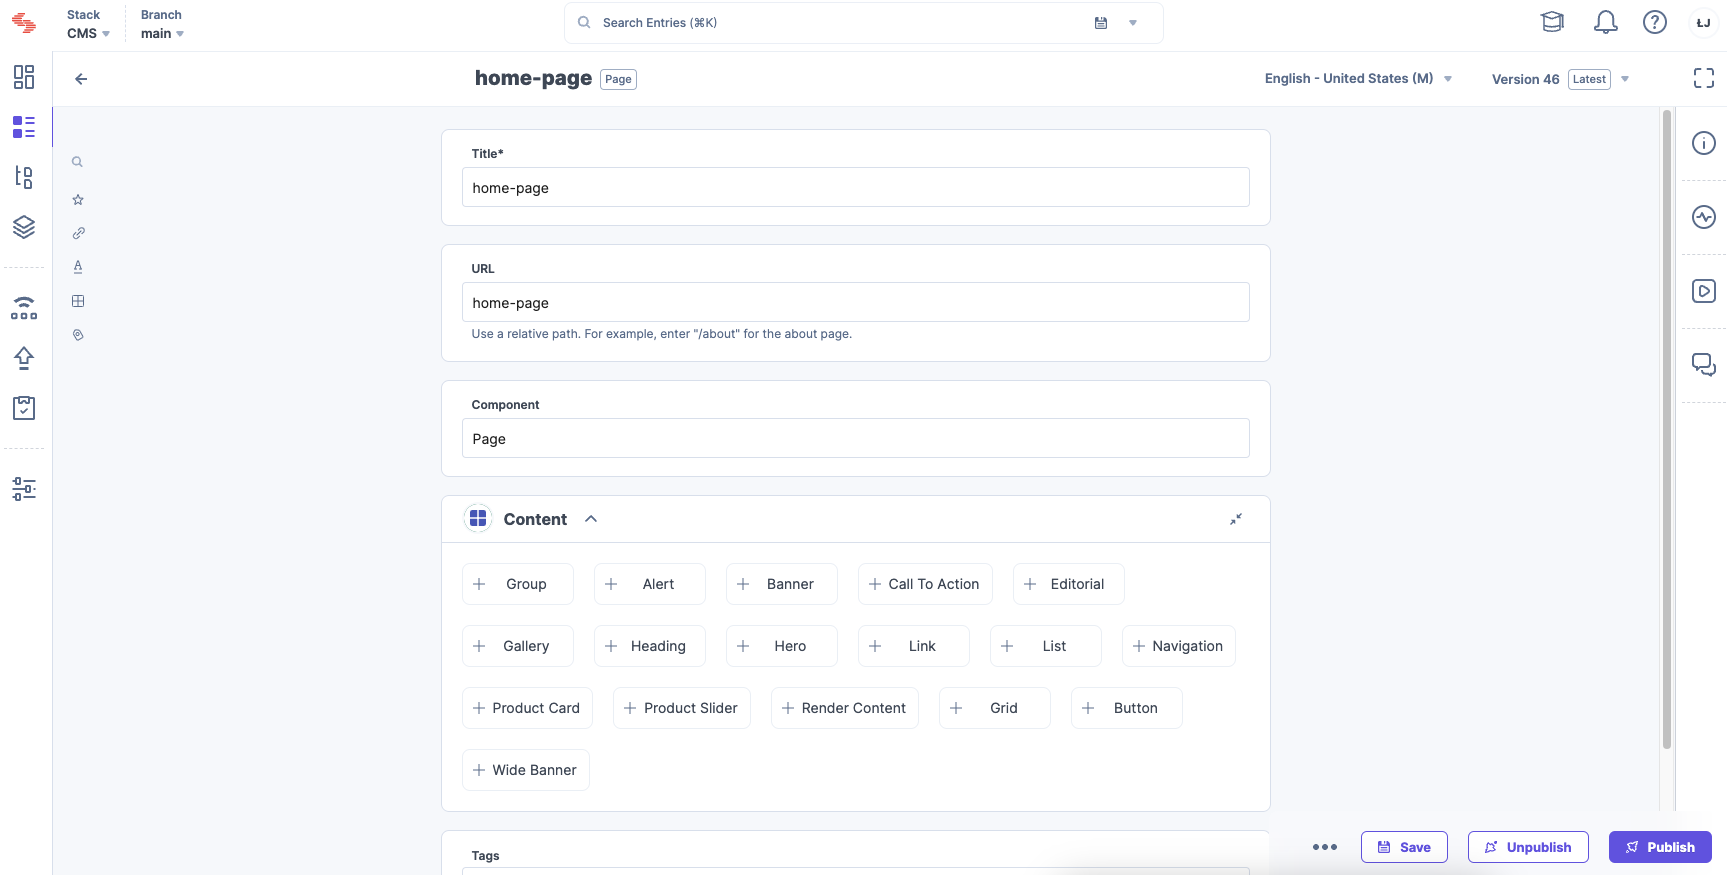
Just after your content will be polished and ready click Save and Publish in the bottom panel.
What about references?
You can reference other content types in your page, but before you do that you need to create a global field named Reference.
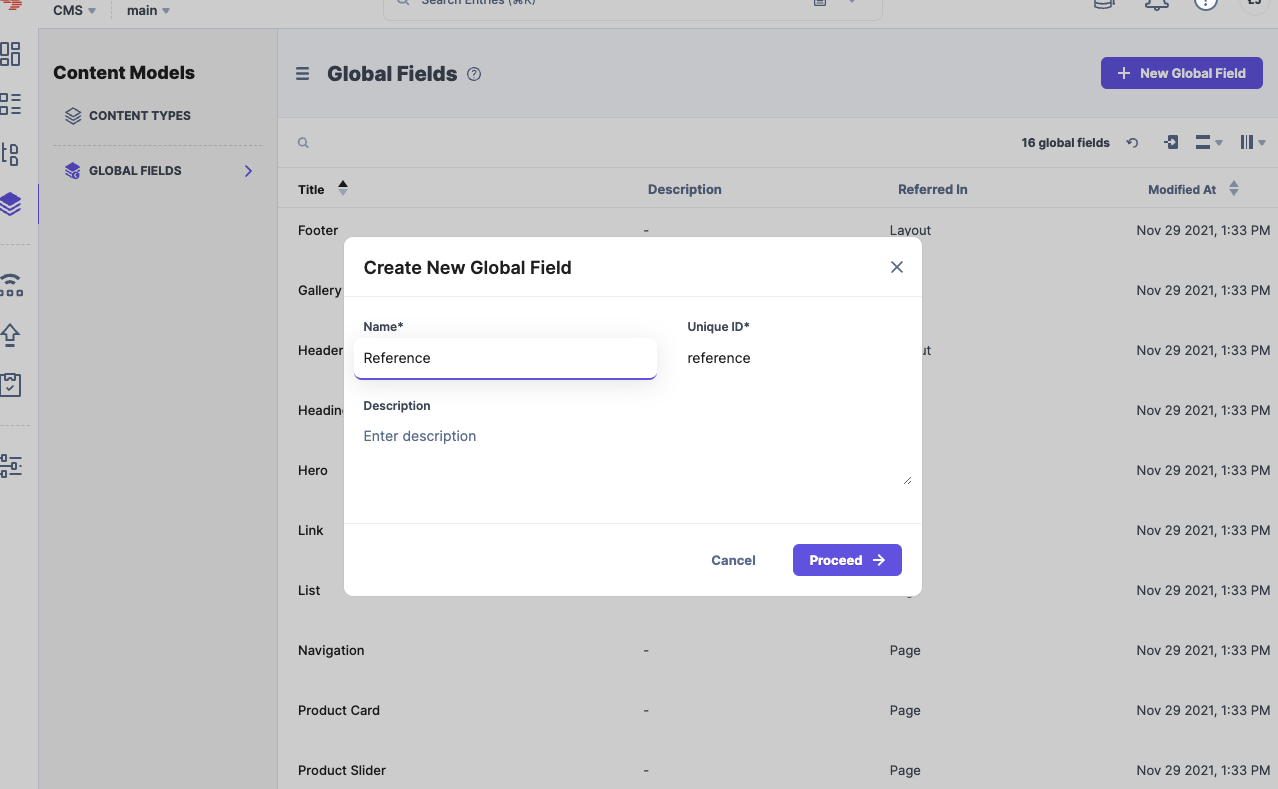
IMPORTANT: those 3 fields are required.
Component- component nameContent- type referenceReference- referenced content type
In Referenced Content Type, select content types from the list you wish to reference.
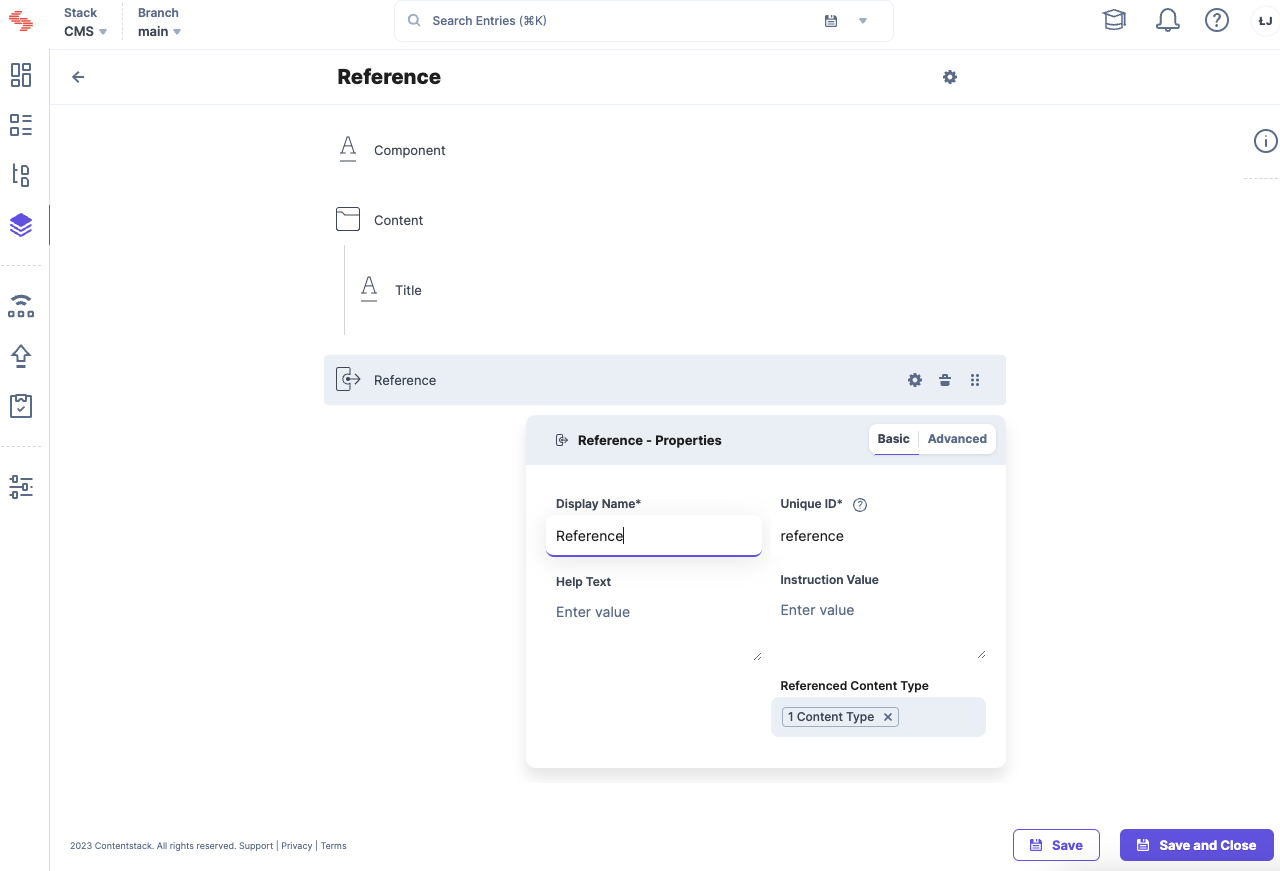
Now, you can use reference on the root level just like a regular content item. In order to use reference in nested content, you would need to add this Reference global field to the Modular Block inside the preferred content type.
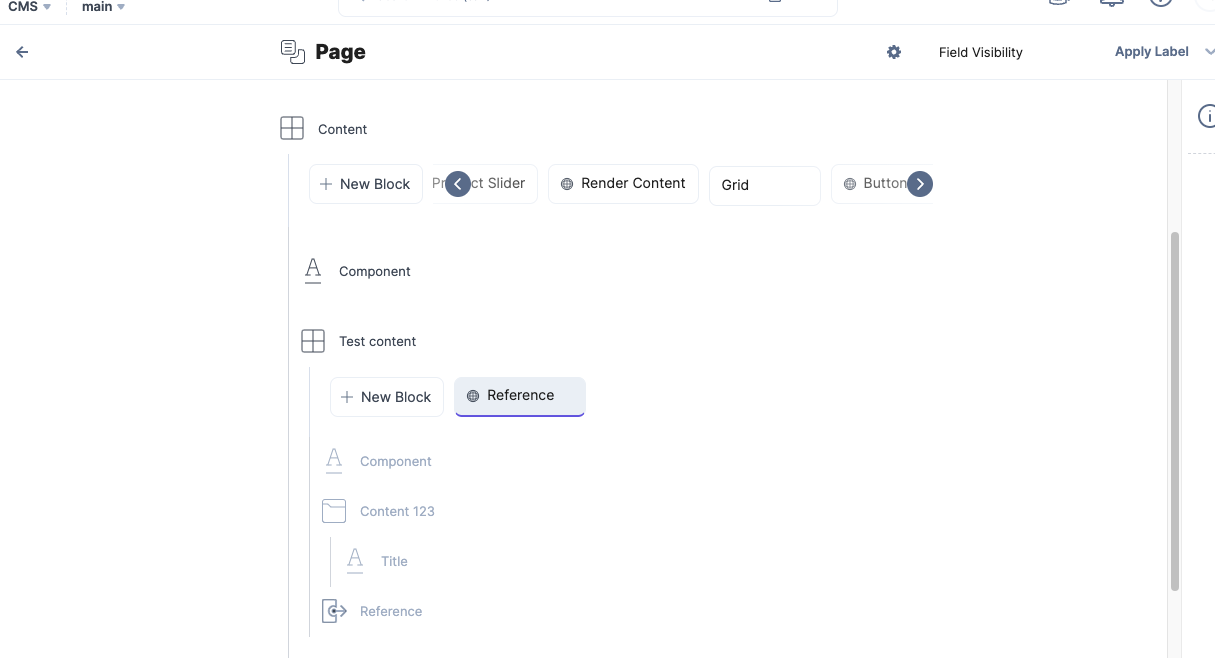
IMPORTANT: There is one thing to remember if you want to use it (nested content). You have to specify that on getContent method params, because by default it's disabled. Check here how to do it.
Awesome 🎉 Now you can move forward to the content fetching and rendering.