Install and Configure Alokai Middleware
In the last section, we have installed the React Native application and created a new Alokai project. In this section, we will install and configure the Alokai Middleware.
The Alokai Middleware is a Node.js application that acts as a bridge between the frontend application and the backend. It is responsible for handling all the API requests and responses, as well as managing the state of the application.
In this guide, we will install the Alokai Middleware and configure it to work with SAP Commerce Cloud.
Install Alokai Middleware
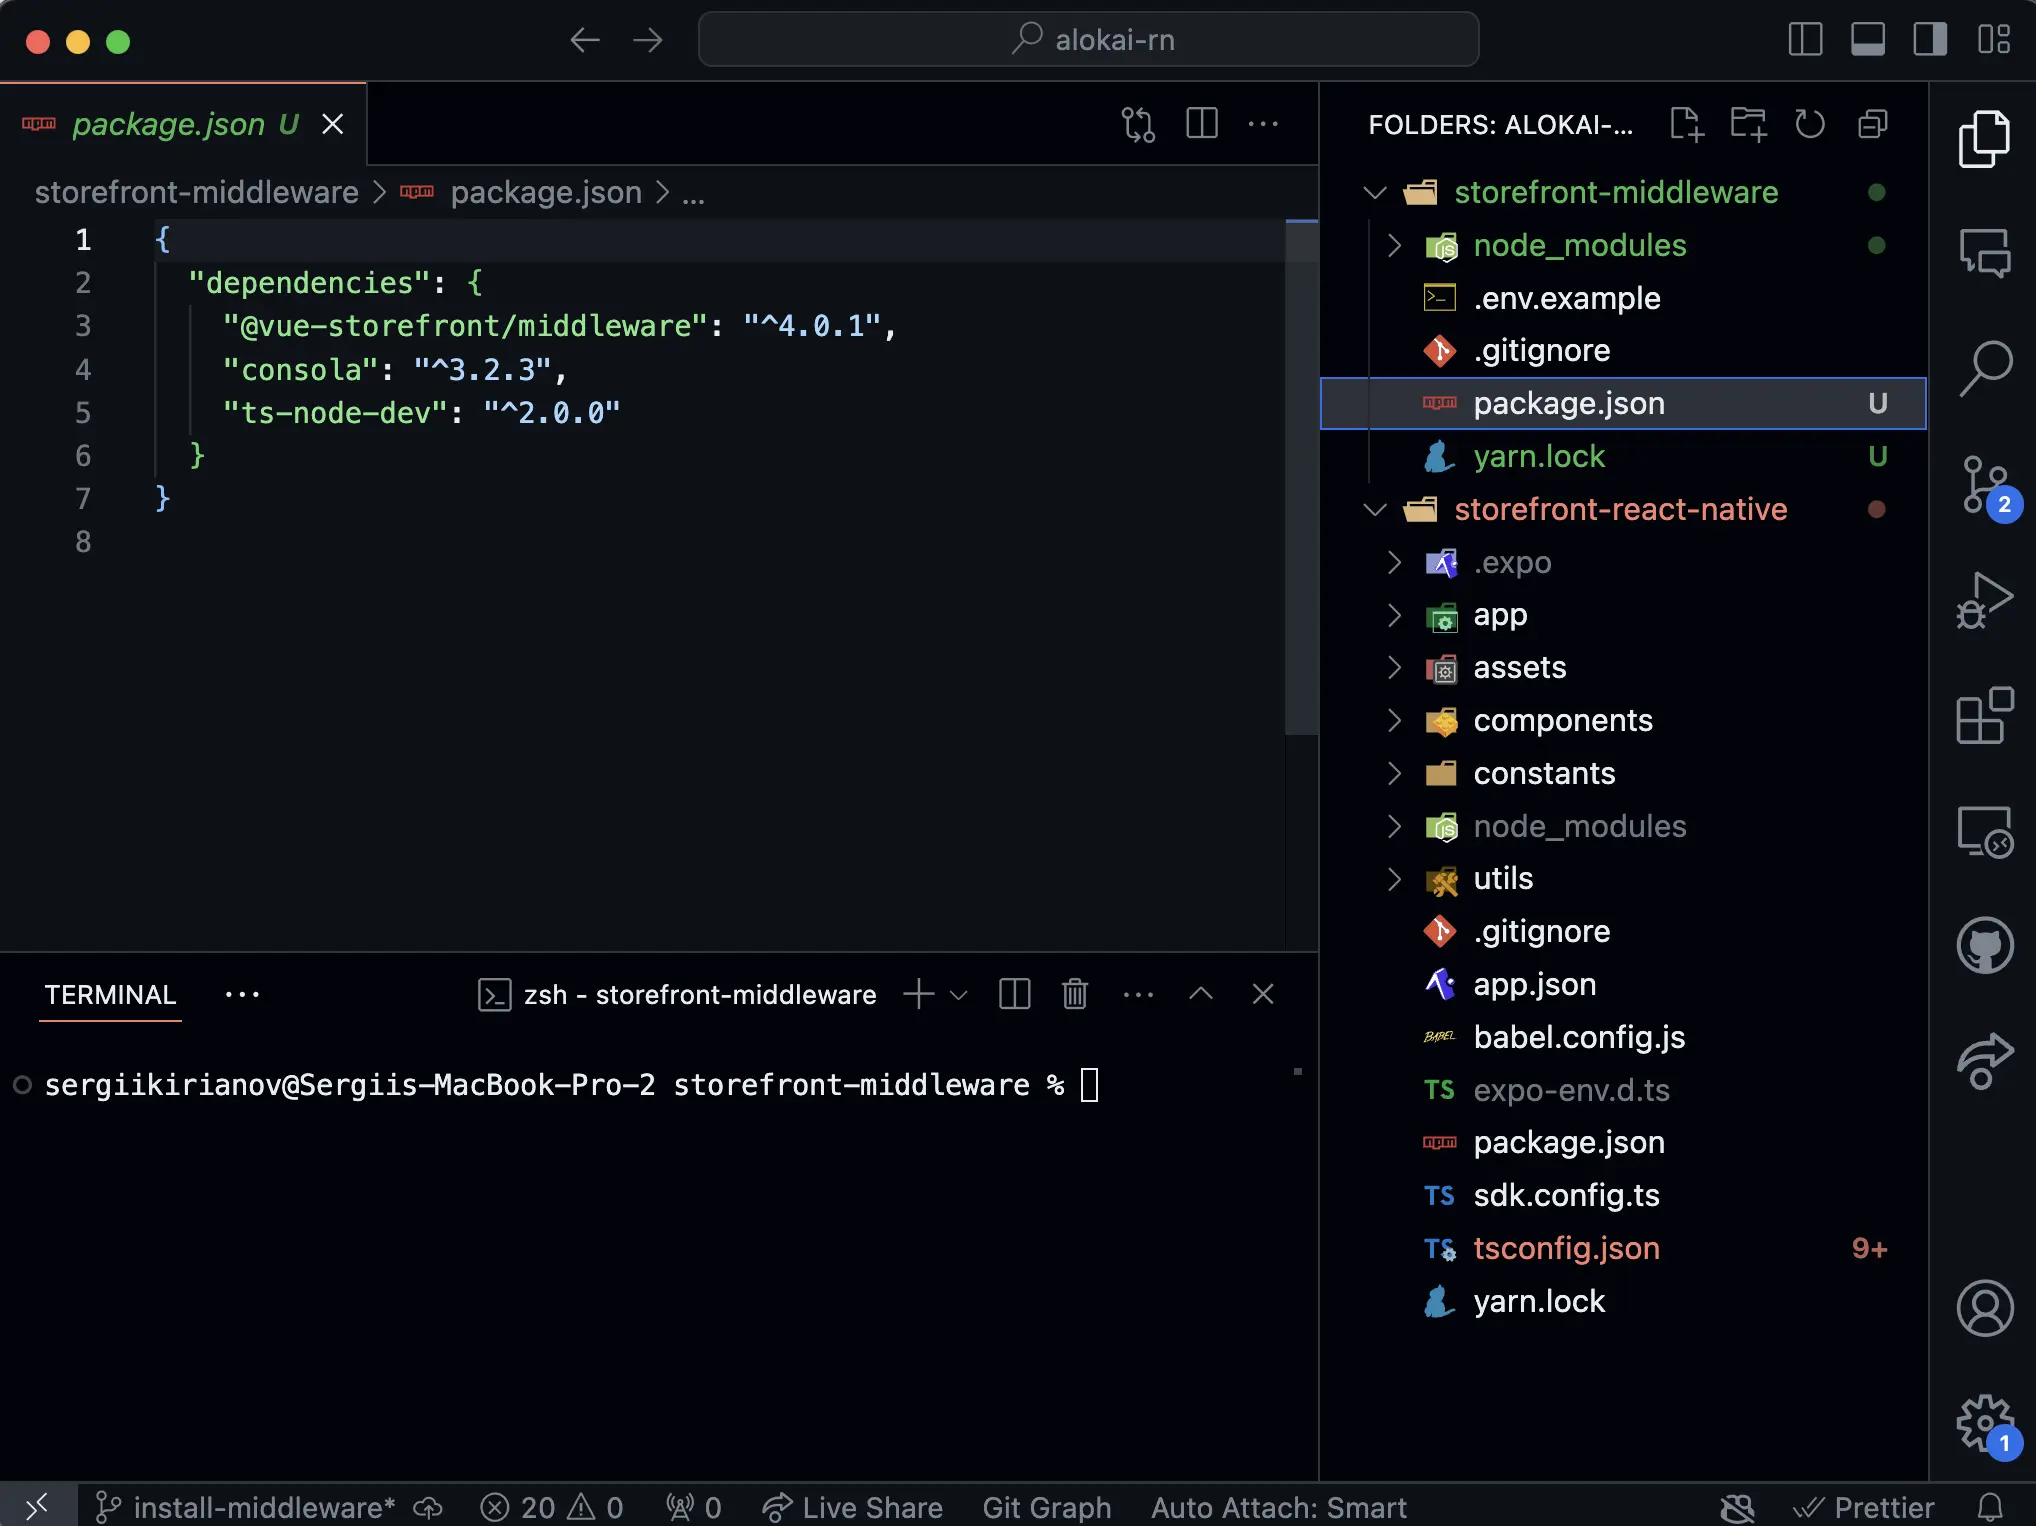
Navigate to a newly generated middleware directory and install the project dependencies by running the following command:
cd storefront-middleware
yarn add @vue-storefront/middleware consola ts-node-dev dotenv typescript
yarn add -D @types/node
This will install all the necessary dependencies for the middleware application.
Install Alokai SAP Commerce Cloud Integration
So far, we have installed the storefront-middleware application. But in order for it to run and communicate with SAP Commerce Cloud, we need to install the @vsf-enterprise/sapcc-api package. This package is an Alokai integration for SAP Commerce Cloud.
It will add endpoints to your Middleware that will communicate directly with SAP.
SAP Commerce Cloud integration is part of our Enterprise offering. To access this package, you will need to have Alokai license to access to our private npm registry.
If you don't have access to our private npm registry, please contact our sales team.
Inside storefront-middleware directory, create .npmrc file and add the following line:
@vsf-enterprise:registry=https://npm.alokai.cloud
auto-install-peers=true
Now you can install the @vsf-enterprise/sapcc-api package by running the following command from storefront-middleware directory:
yarn add @vsf-enterprise/sapcc-apiConfigure Alokai Middleware
Now that you have installed the middleware application and the SAP Commerce Cloud integration, you need to configure the middleware application to work with SAP Commerce Cloud.
To do this, you will need to create a new configuration file in the storefront-middleware directory. Create a new file called middleware.config.ts and add the following code:
import 'dotenv/config';

export const integrations = {
  sapcc: {
    location: '@vsf-enterprise/sapcc-api/server',
    configuration: {
      OAuth: {
        uri: process.env.SAPCC_OAUTH_URI,
        clientId: process.env.SAPCC_OAUTH_CLIENT_ID,
        clientSecret: process.env.SAPCC_OAUTH_CLIENT_SECRET,
        tokenEndpoint: process.env.SAPCC_OAUTH_TOKEN_ENDPOINT,
        tokenRevokeEndpoint: process.env.SAPCC_OAUTH_TOKEN_REVOKE_ENDPOINT,
        cookieOptions: {
          'vsf-sap-token': { secure: process.env.NODE_ENV !== 'development' }
        }
      },
      api: {
        uri: process.env.SAPCC_API_URI,
        baseSiteId: process.env.DEFAULT_BASE_SITE_ID,
        catalogId: process.env.DEFAULT_CATALOG_ID,
        catalogVersion: process.env.DEFAULT_CATALOG_VERSION,
        defaultLanguage: process.env.DEFAULT_LANGUAGE,
        defaultCurrency: process.env.DEFAULT_CURRENCY
      }
    }
  }
};
This configuration file will include all of the necessary options for the middleware application to work with SAP Commerce Cloud.
You will also need to create a new .env file in the storefront-middleware directory and add the following environment variables:
SAPCC_OAUTH_URI=
SAPCC_OAUTH_CLIENT_ID=
SAPCC_OAUTH_CLIENT_SECRET=
SAPCC_OAUTH_TOKEN_ENDPOINT=/oauth/token
SAPCC_OAUTH_TOKEN_REVOKE_ENDPOINT=/oauth/revoke
SAPCC_API_URI=

DEFAULT_BASE_SITE_ID=
DEFAULT_CATALOG_ID=
DEFAULT_CATALOG_VERSION=
DEFAULT_LANGUAGE=
DEFAULT_CURRENCY=
Replace the environment variables with your SAP Commerce Cloud credentials.
Run Alokai Middleware
Our middleware application is now fully configured and ready to run. To start the middleware application, we need to create an entry point file in the storefront-middleware directory. Create a new file called index.ts in the storefront-middleware/src directory:
mkdir src
touch src/index.ts
Add the following code to the index.ts file:
import { createServer } from '@vue-storefront/middleware';
import { integrations } from '../middleware.config';
const consola = require('consola');
const cors = require('cors');
(async () => {
const app = await createServer({ integrations });
// By default it's running on the localhost.
const host = process.argv[2] ?? 'localhost';
// By default it's running on the port 8181.
const port = process.argv[3] ?? 8181;
const CORS_MIDDLEWARE_NAME = 'corsMiddleware';
const corsMiddleware = app._router.stack.find(
(middleware: { name: string }) => middleware.name === CORS_MIDDLEWARE_NAME
);
// You can overwrite the cors settings by defining allowed origins.
corsMiddleware.handle = cors({
origin: ['http://localhost:3000'],
credentials: true
});
app.listen(port, host, () => {
consola.success(`API server listening on http://${host}:${port}`);
});
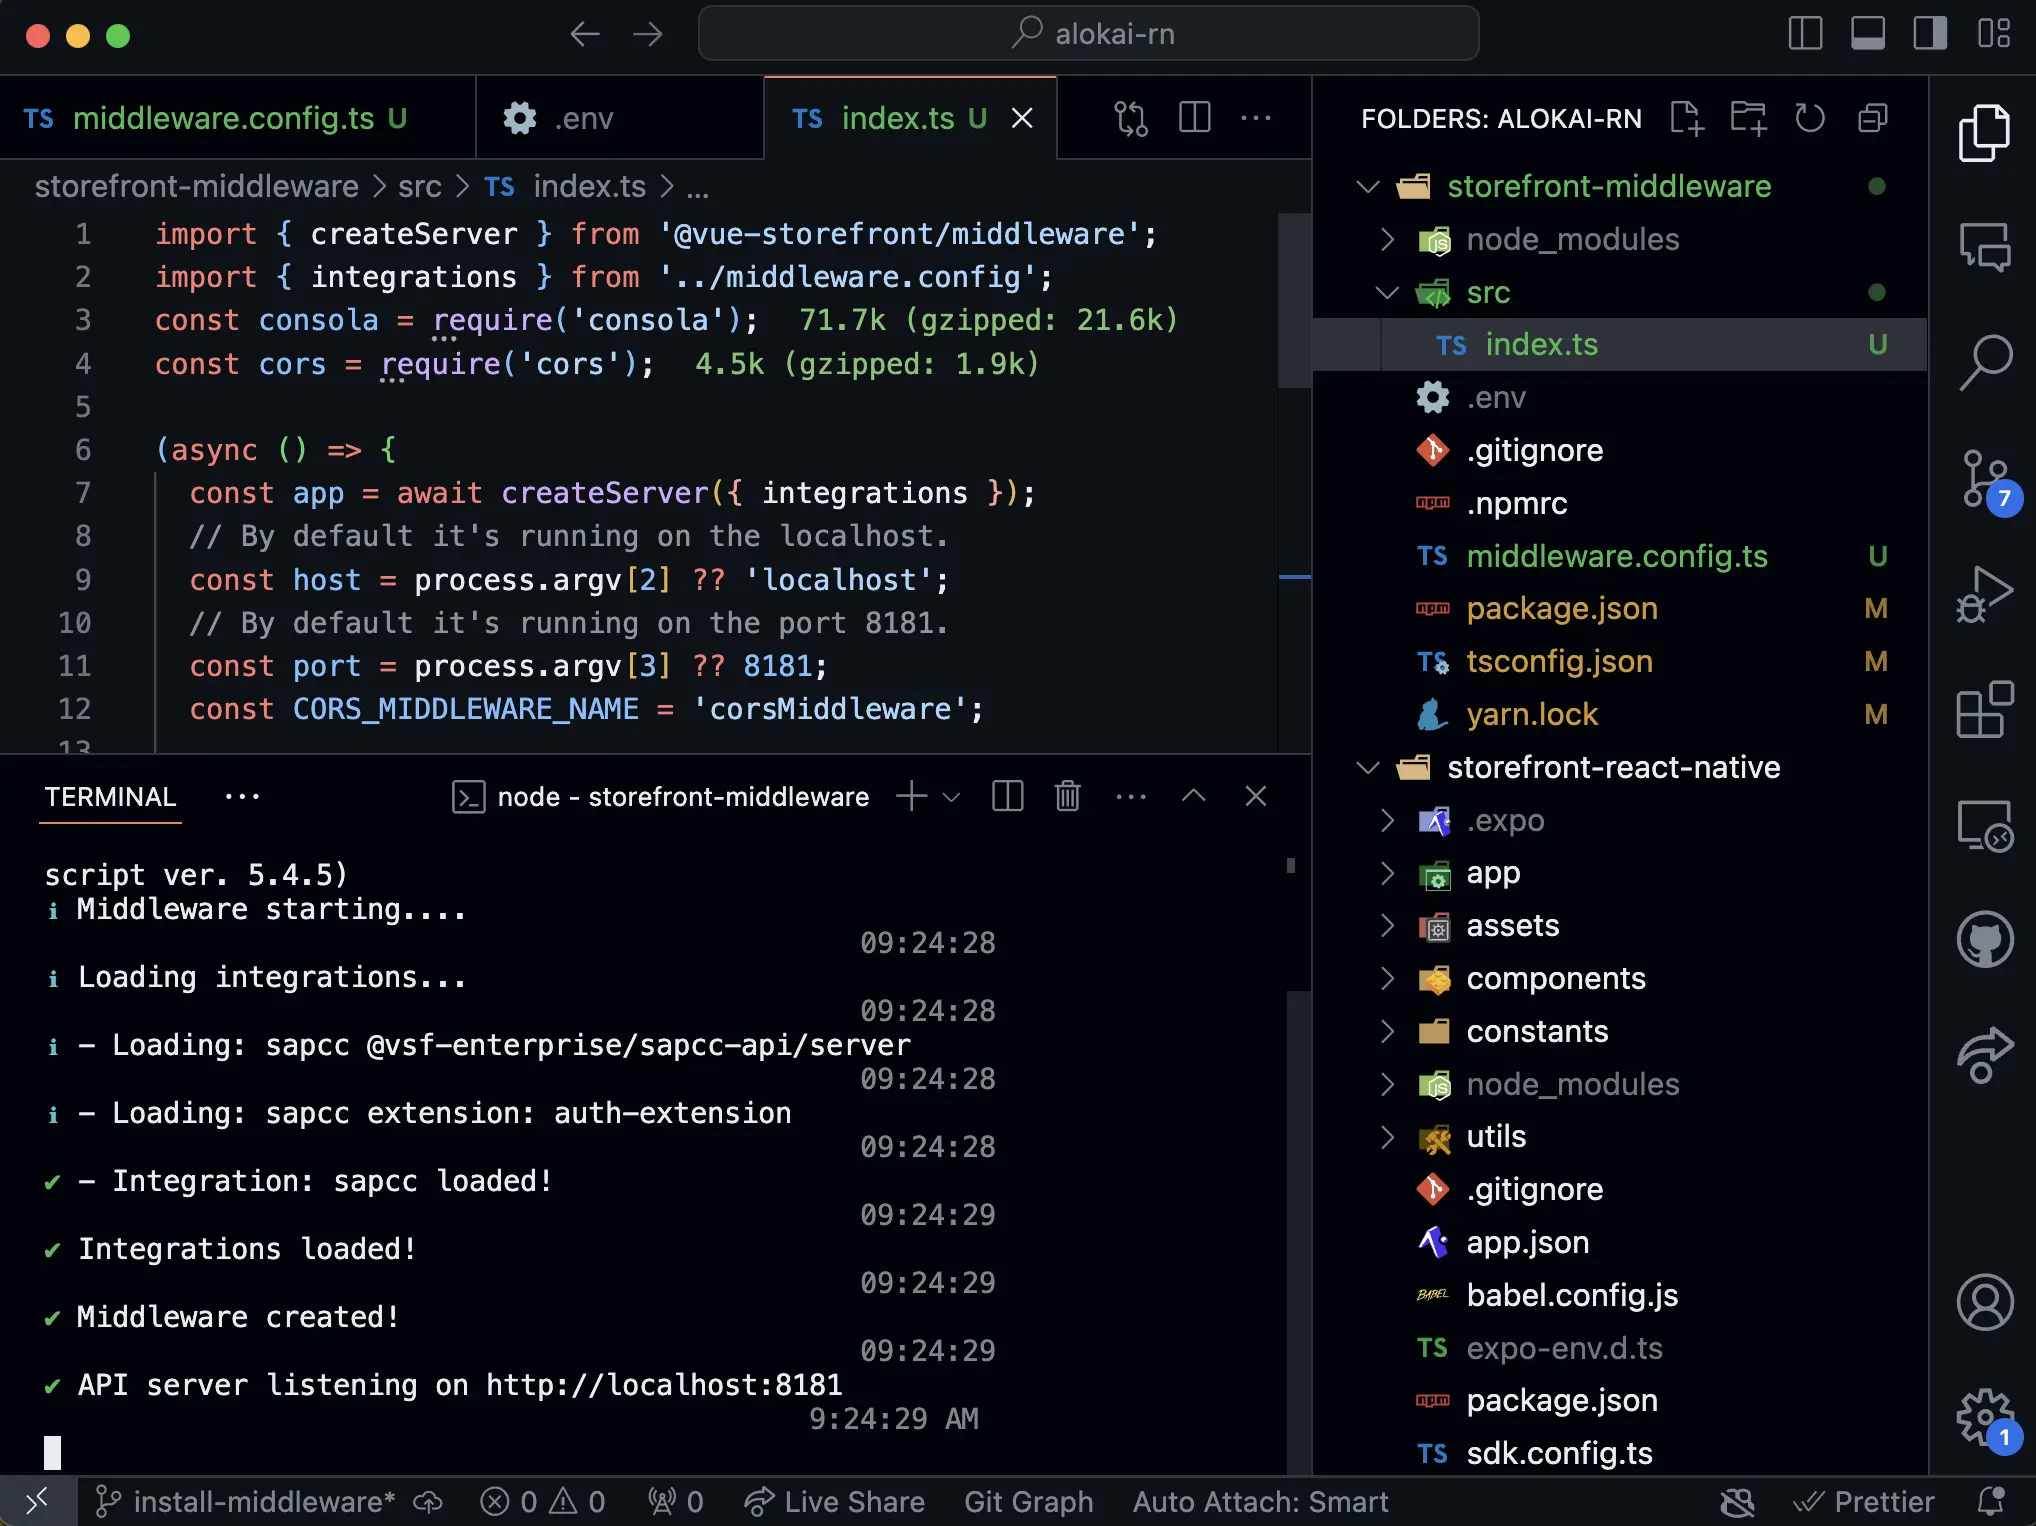
})();This code will create a new server instance and start the middleware application. It will also configure the CORS settings to allow requests from http://localhost:3000.
The last step is to run the middleware application. In order to help you with that, we will use a "dev" script in the package.json file. Add the following script to the package.json file:
"scripts": {
  "dev": "ts-node-dev src/index.ts"
}
Now you can run the middleware application by running the following command from the root directory. Go to the root directory and run the following command:
yarn devThis will start the middleware application.
To test if the middleware application is running correctly, open your terminal and run the following command:
curl http://localhost:8181/sapcc/searchProductThis will send a request to the middleware application and return a response from SAP Commerce Cloud.
You can find complete implementation in the install-middleware branch
Summary
In this section, we have installed and configured the Alokai Middleware. We have installed all the necessary dependencies for the middleware application and configured it to work with SAP Commerce Cloud. We have also created a new configuration file and added all the necessary environment variables.
In the next section, we will install and configure the Alokai SDK in the React Native application.