Adding a New Page
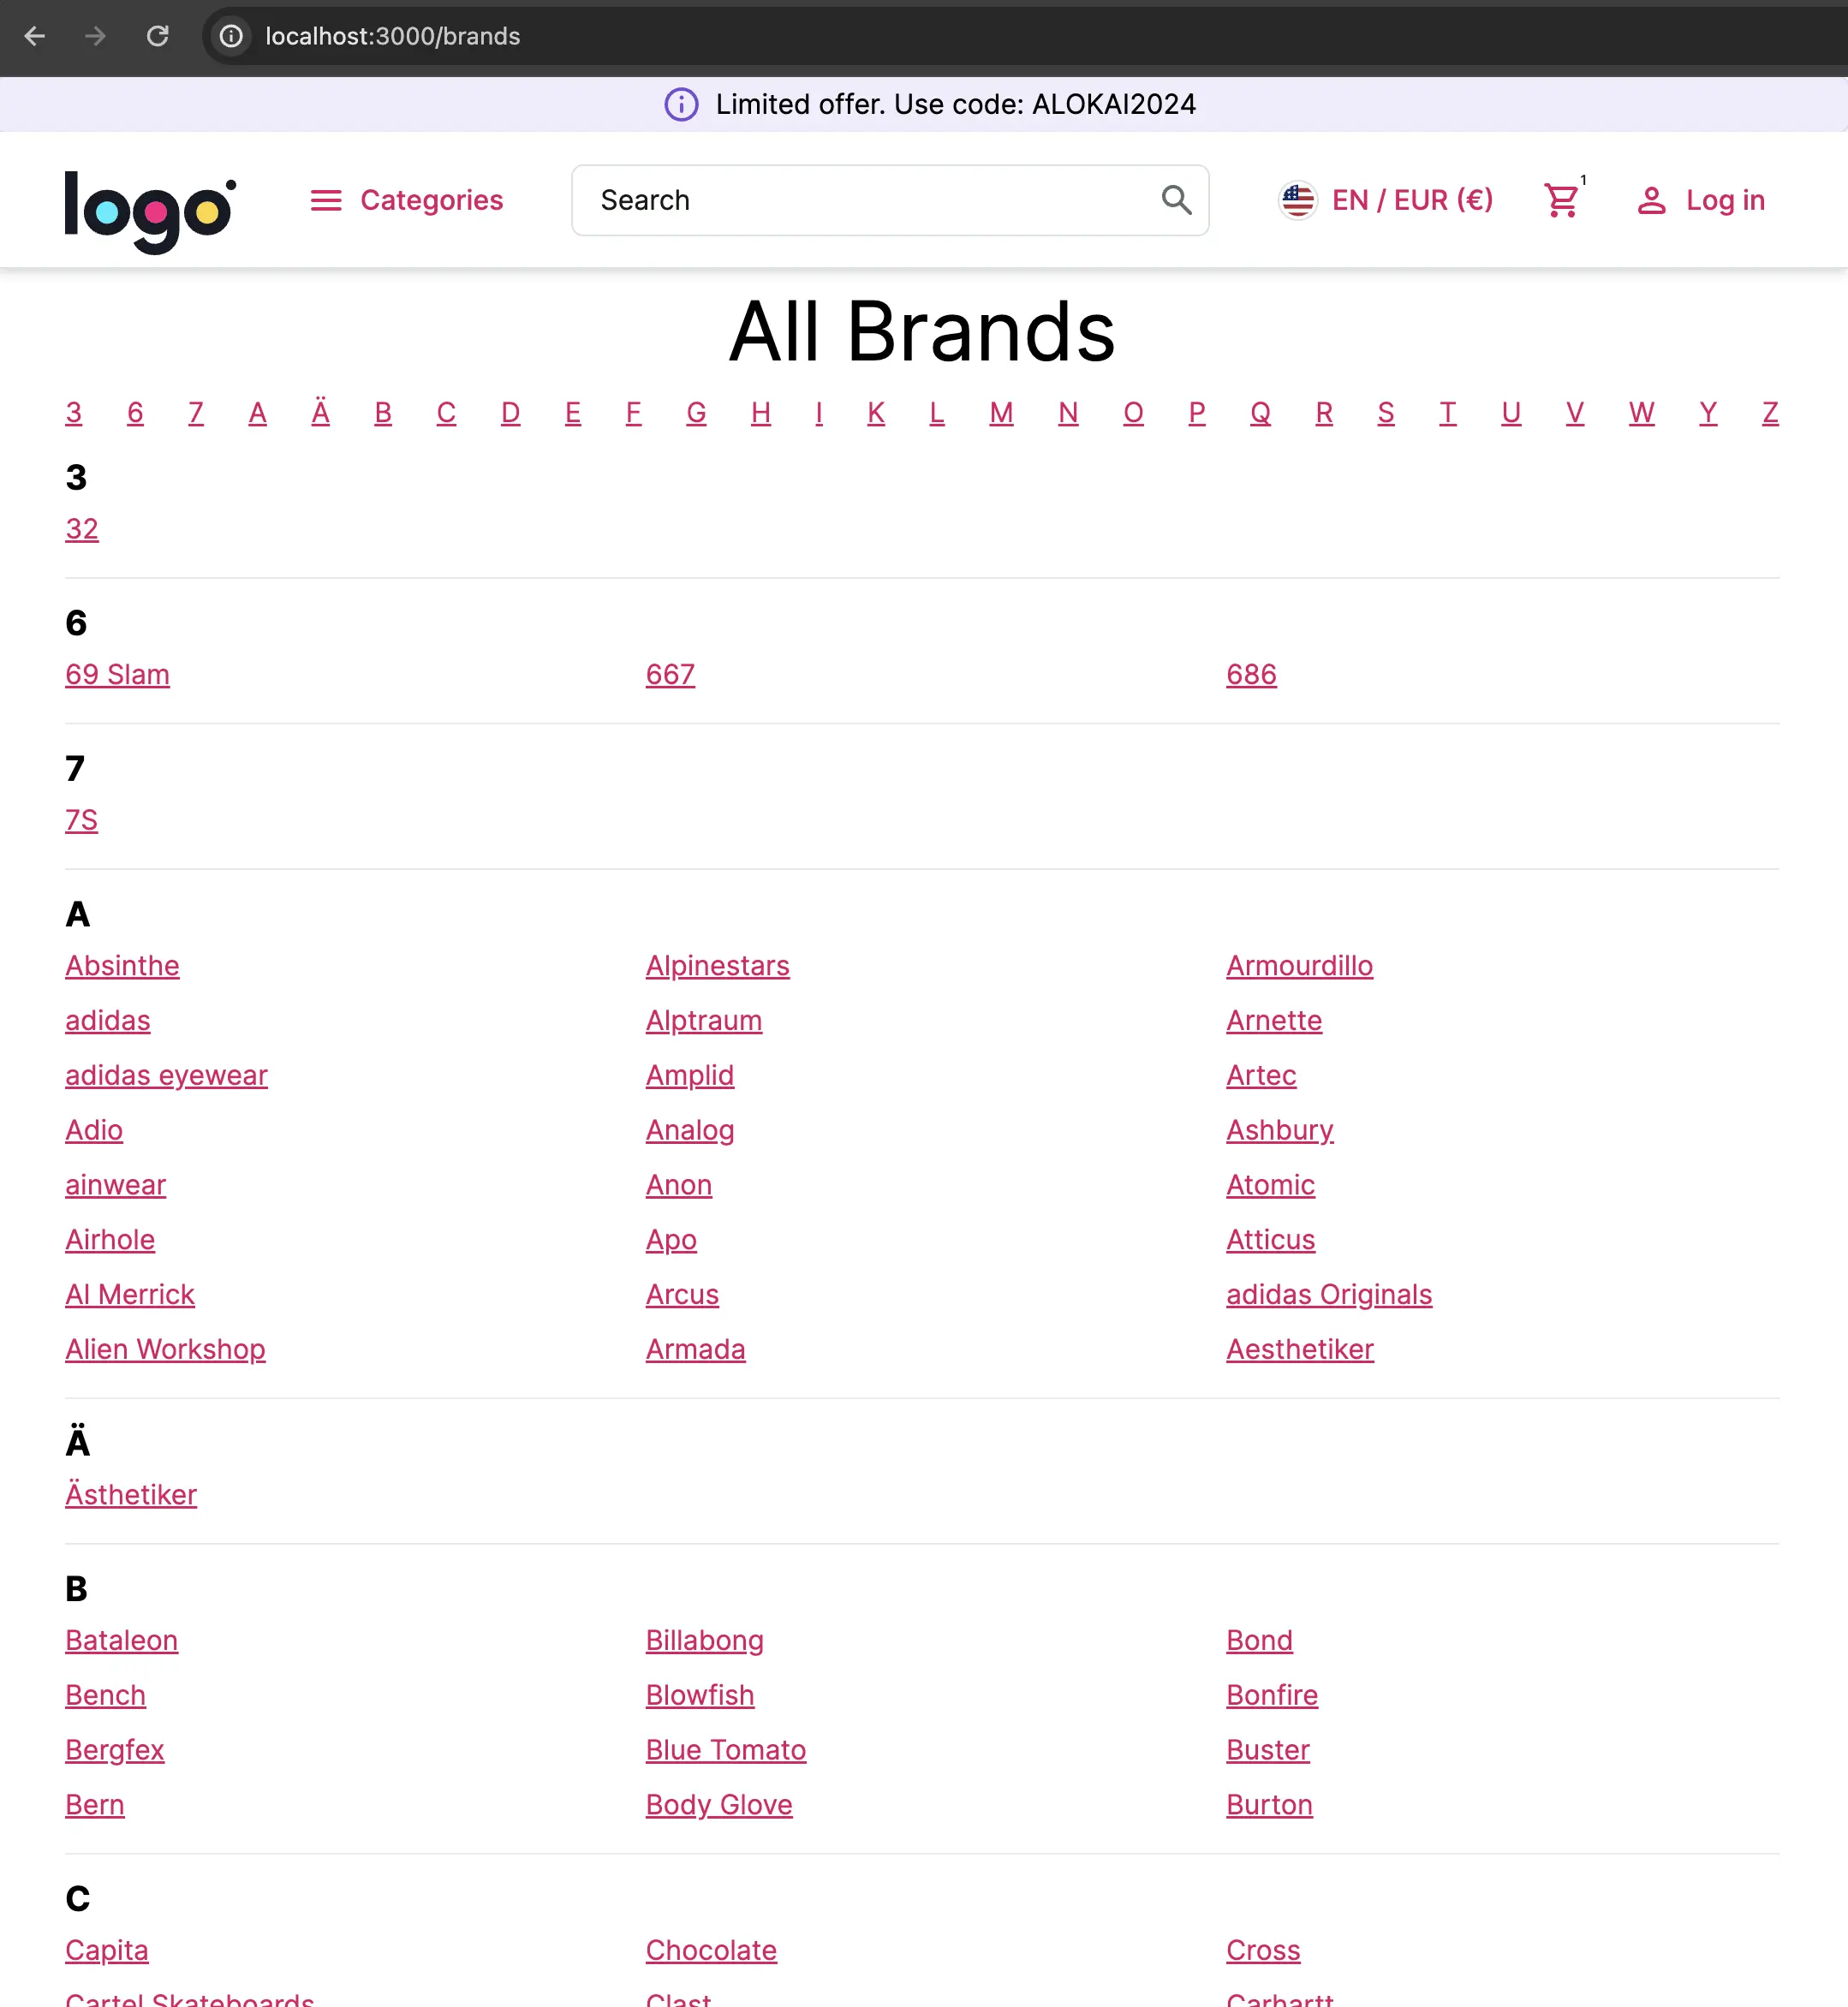
In this chapter, we will create a new custom page. It will be a page listing all the brands that will look like this:

The process of creating a new page with Alokai is no different than creating one with Next.js. However, when building your page, Alokai offers a few useful features that you'll want to take advantage of.
- Create
apps/storefront-unified-nextjs/app/[locale]/(default)/brandsfolder andpage.tsxfile with the folowing content:
import { SfCategory } from 'storefront-middleware/types';

import { Link } from '@/config/navigation';
import { getSdk } from '@/sdk';
import { Maybe } from '@/types';

type BrandsAlphabetically = Record<string, SfCategory[]>;

// utility function to transform data into a structure that is friendlier for rendering
function categoriesToBrands(categories: Maybe<SfCategory[]> | undefined): BrandsAlphabetically {
  const result: BrandsAlphabetically = {};

  categories?.forEach((category) => {
    const firstLetter = category.name.at(0)?.toLocaleUpperCase() ?? '';
    if (result[firstLetter]) {
      result[firstLetter]?.push(category);
    } else {
      result[firstLetter] = [category];
    }
  });

  return result;
}

export default async function Brands() {
  const sdk = await getSdk();

  const categories = await sdk.unified.getCategories({ ids: ['brands'] });
  const brands = categoriesToBrands(categories?.[0]?.subcategories);
  const letters = Object.keys(brands);

  return (
    <div className="mx-auto max-w-screen-3-extra-large px-4 md:px-6 lg:px-10">
      <h1 className="py-3 text-center text-5xl">All Brands</h1>
      <div className="flex justify-between">
        {letters.map((letter) => (
          <Link href={`#${letter}`} key={`link-${letter}`}>
            {letter}
          </Link>
        ))}
      </div>
      <div className="divide-y">
        {letters.map((letter) => (
          <div className="border-b-black py-3" id={letter} key={letter}>
            <h2 className="text-xl font-bold">{letter}</h2>
            <div className="columns-2 md:columns-3">
              {brands[letter].map((brand) => (
                <div className="py-1" key={brand.id}>
                  <Link
                    className="text-primary-700 underline hover:text-primary-800 active:text-primary-900"
                    href={{ params: { slugs: [brand.slug] }, pathname: '/category/[[...slugs]]' }}
                  >
                    {brand.name}
                  </Link>
                </div>
              ))}
            </div>
          </div>
        ))}
      </div>
    </div>
  );
}
This code uses sdk.unified.getCategories method to fetch the 'brands' category. The subcategories represent different brands.
Your backend might not have such a special category so you need to figure out yourself where to fetch the list of brands from.
categoriesToBrands transforms the category data into a structure that is easier to render in the way we want.
- Open
http://localhost:3000/brandsand check if it works. - Lastly, we would like to add some custom translations to our page. We will translate the "All Brands" heading.
We've learned how to add translations in the previous chapter.However, this time we're using translations in an
asynccomponent and it requires slightly different syntax
Open both en/base.json and de/base.json files and add a new translation there:
},
+  "Brands": {
+    "allBrands": "All Brands"
+  },
  },
+  "Brands": {
+    "allBrands": "Alle Marken"
  },
Modify apps/storefront-unified-nextjs/app/[locale]/(default)/brands/page.tsx:
//...
  const categories = await sdk.unified.getCategories({ ids: ['brands'] });
  const t = await getTranslations('Brands');   const brands = categoriesToBrands(categories?.[0]?.subcategories);
// ...
<h1 className="py-3 text-center text-5xl">All Brands</h1> <h1 className="py-3 text-center text-5xl">{t('allBrands')}</h1> // ...
You can find a complete project example in this repository: https://github.com/vsf-customer/extensibility-demo-v2 If you want to get access to it, contact our sales team.
Next: Customizing Unified Data Model
Learn how to add custom fields to the Unified Data Model