Adding a New Page
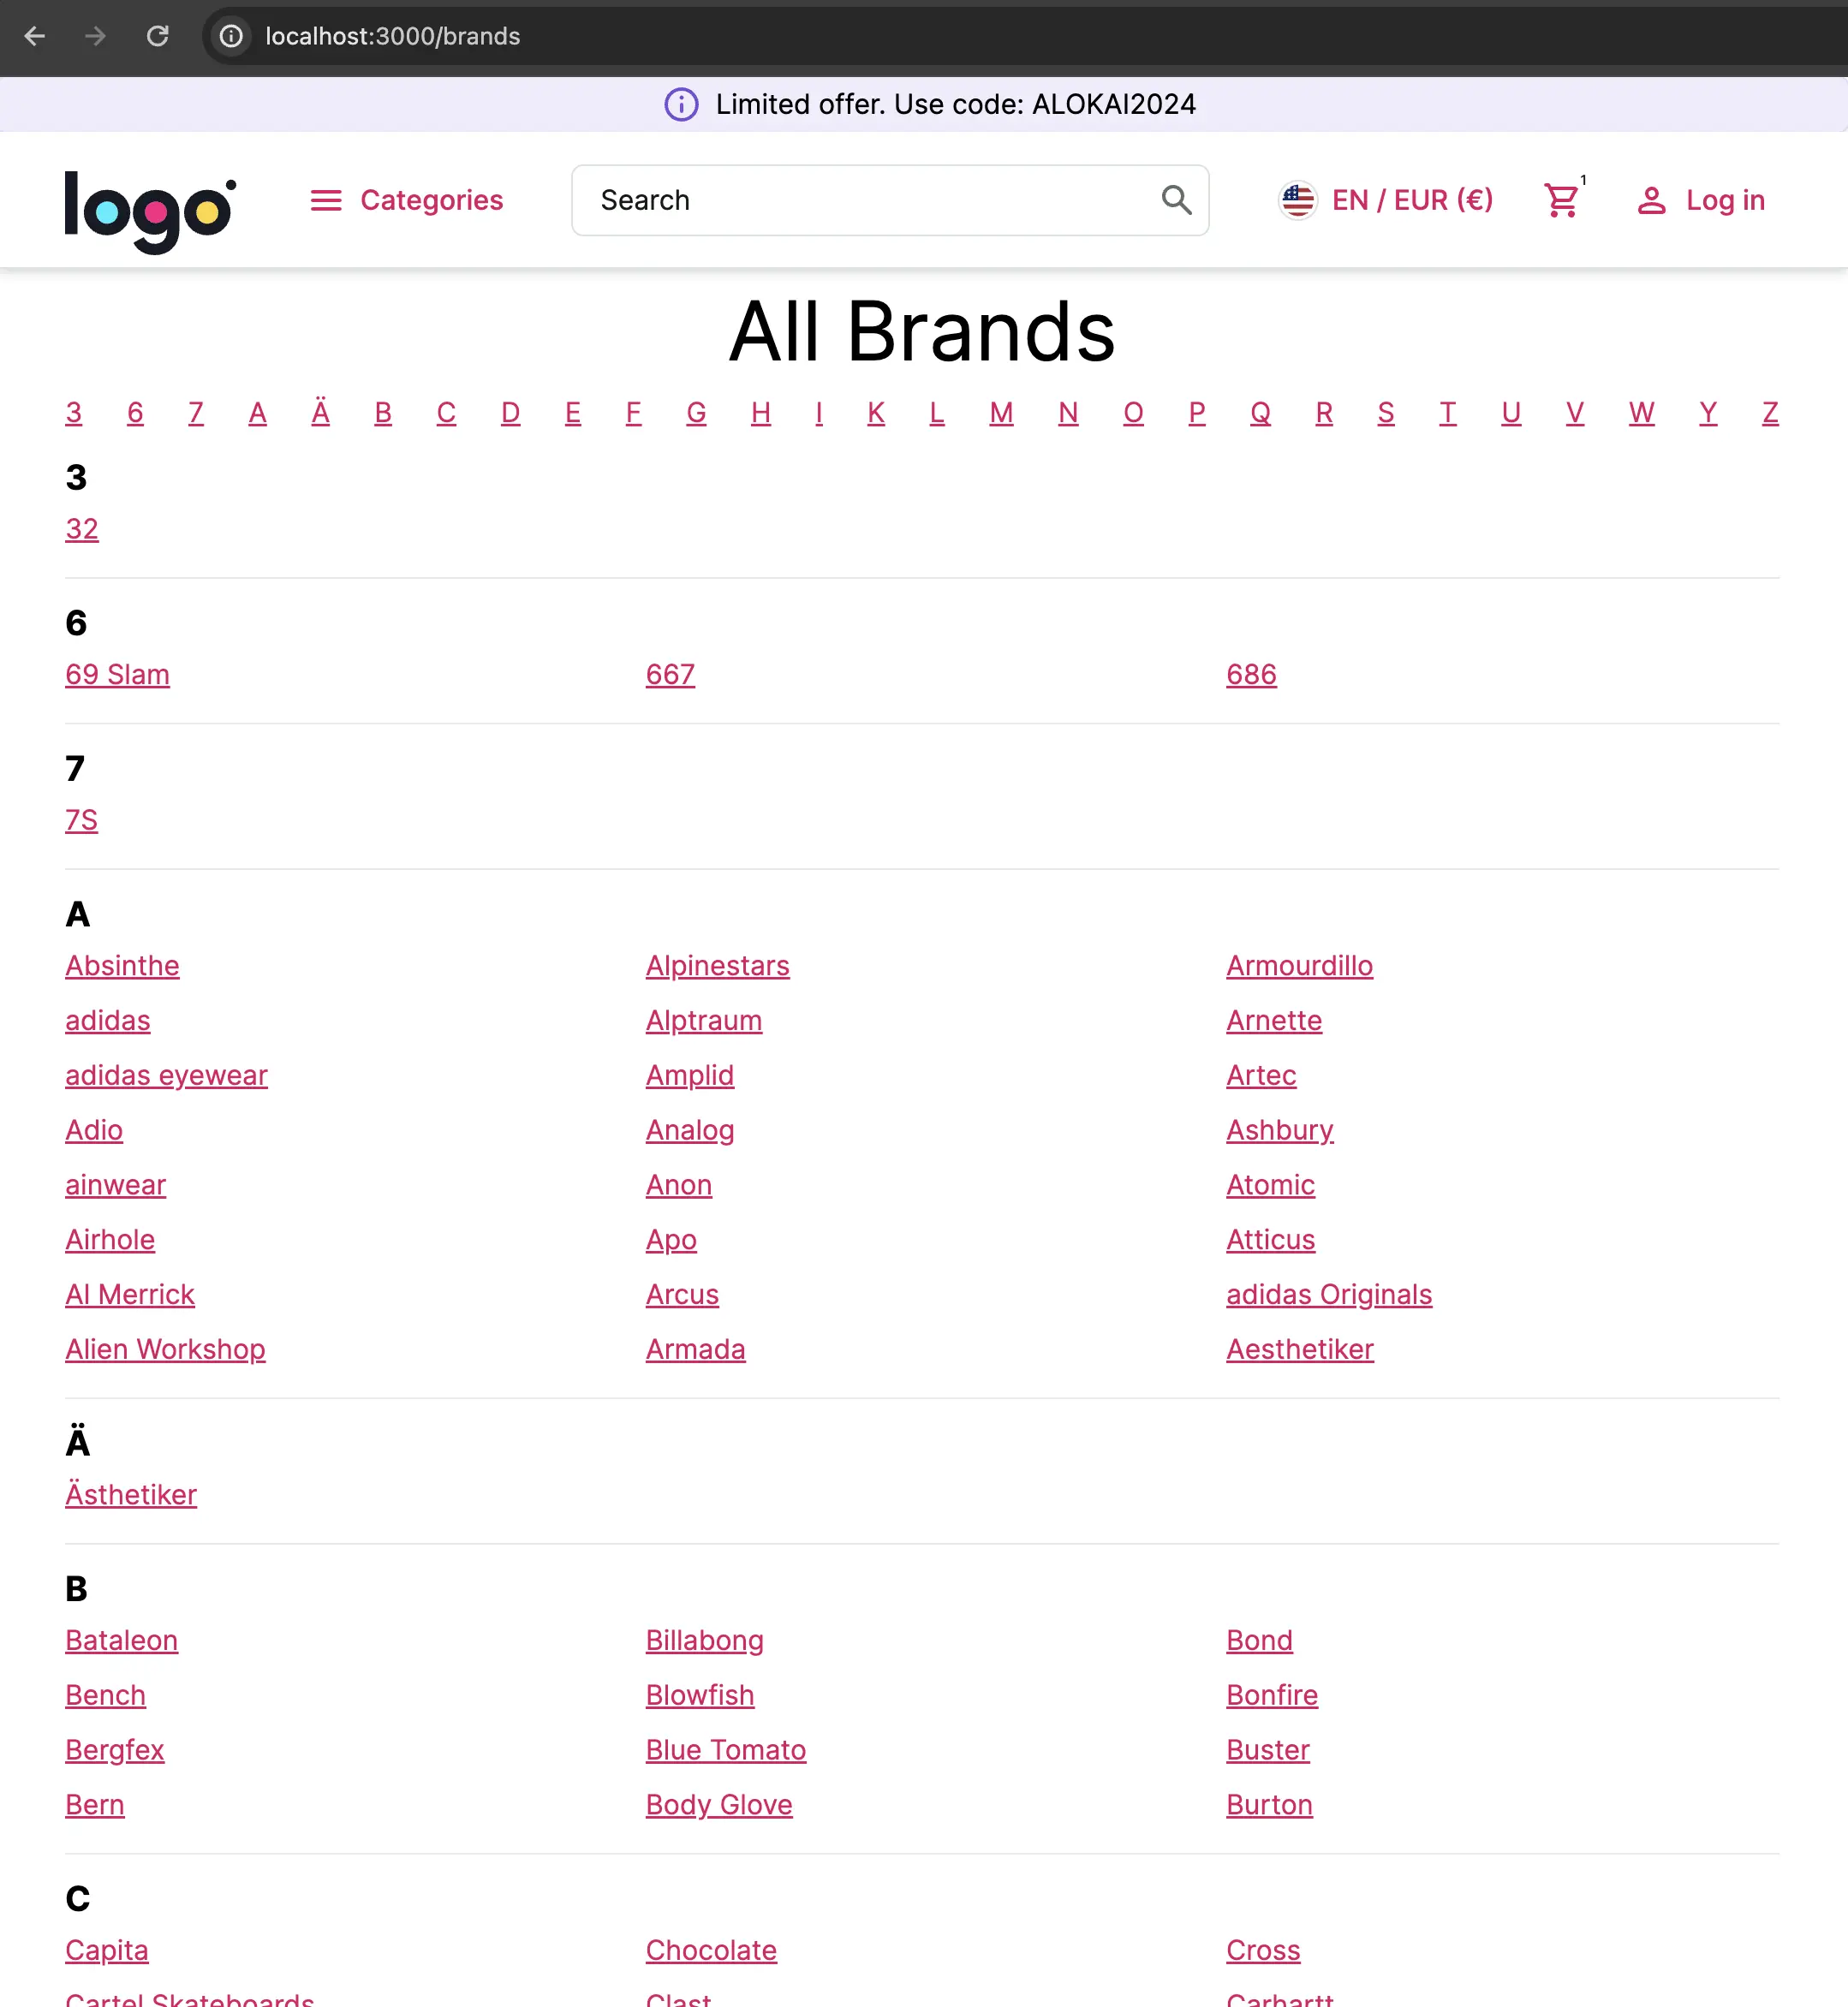
In this chapter, we will create a new custom page. It will be a page listing all the brands that will look like this:

The process of creating a new page with Alokai is no different than creating one with Next.js. However, when building your page, Alokai offers a few useful features that you'll want to take advantage of.
- Create
storefront-unified-nextjs/pages/brands.tsxfile with the following content:
import { SfLink } from '@storefront-ui/react';
import { SfCategory } from 'storefront-middleware/types';
import { NarrowContainer } from '~/components';
import { appRoutes } from '~/config';
import { useCategories } from '~/hooks';
import { DefaultLayout } from '~/layouts';
import { Maybe } from '~/types';

type BrandsAlphabetically = Record<string, SfCategory[]>;

// utility function to transform data into a structure that is friendlier for rendering
function categoriesToBrands(categories: Maybe<SfCategory[]> | undefined): BrandsAlphabetically {
  const result: BrandsAlphabetically = {};

  categories?.forEach((category) => {
    const firstLetter = category.name.at(0)?.toLocaleUpperCase() ?? '';
    if (result[firstLetter]) {
      result[firstLetter]?.push(category);
    } else {
      result[firstLetter] = [category];
    }
  });

  return result;
}

export default function Brands() {
  const categories = useCategories({ ids: ['brands'] });
  const brands = categoriesToBrands(categories?.data?.[0]?.subcategories);
  const letters = Object.keys(brands);

  return (
    <DefaultLayout>
      <NarrowContainer>
        <h1 className="text-5xl text-center py-3">All Brands</h1>
        <div className="flex justify-between">
          {letters.map((letter) => (
            <SfLink key={`link-${letter}`} href={`#${letter}`}>
              {letter}
            </SfLink>
          ))}
        </div>
        <div className="divide-y">
          {letters.map((letter) => (
            <div key={letter} className="py-3 border-b-black" id={letter}>
              <h2 className="text-xl font-bold">{letter}</h2>
              <div className="columns-2 md:columns-3">
                {brands[letter].map((brand) => (
                  <div key={brand.id} className="py-1">
                    <SfLink href={appRoutes.category.slug.compile({ slug: brand.slug })}>{brand.name}</SfLink>
                  </div>
                ))}
              </div>
            </div>
          ))}
        </div>
      </NarrowContainer>
    </DefaultLayout>
  );
}
This code uses a predefined useCategories hook to fetch the 'brands' category. The subcategories represent different brands.
Your backend might not have such a special category so you need to figure out yourself where to fetch the list of brands from.
categoriesToBrands transforms the category data into a structure that is easier to render in the way we want. For better performance, this transformation shouldn't be a part of the front-end application, but we'll tackle this problem later.
appRoutes.category.slug.compile({ slug: brand.slug }) is a helper function that generates a category page link instead of hardcoding it. This way, if you need to change all of the links, you can do it in one place.
- Open
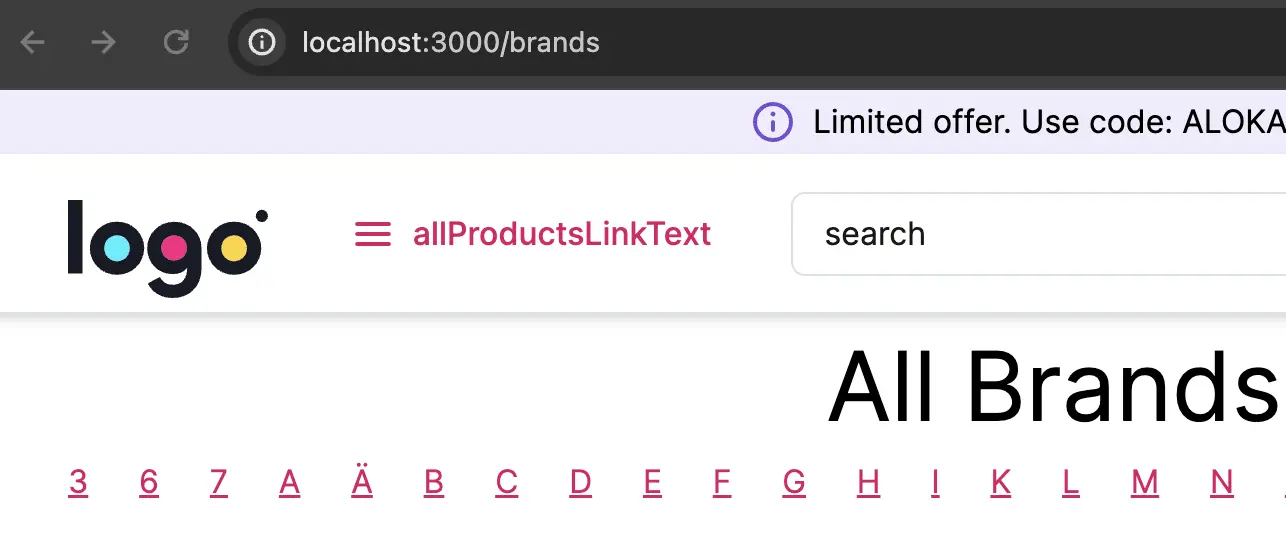
http://localhost:3000/brands. The page should look more or less like the screenshot. However, there are a couple of issues:
- We are doing client-side fetching for static data which impairs performance and SEO.
- Some translations are missing. e.g. "allProductsLinkText"

- Let's fix these issues by adding
getServerSidePropsto fetch the data during SSR.
import { InferGetServerSidePropsType } from 'next';
import { SfLink } from '@storefront-ui/react';
import { SfCategory } from 'storefront-middleware/types';
import { NarrowContainer } from '~/components';
import { appRoutes } from '~/config';
import { createGetServerSideProps } from '~/helpers/ssr';
import { DefaultLayout } from '~/layouts';
import { Maybe } from '~/types';

type BrandsAlphabetically = Record<string, SfCategory[]>;

function categoriesToBrands(categories: Maybe<SfCategory[]> | undefined): BrandsAlphabetically {
  const result: BrandsAlphabetically = {};

  categories?.forEach((category) => {
    const firstLetter = category.name.at(0)?.toLocaleUpperCase() ?? '';
    if (result[firstLetter]) {
      result[firstLetter]?.push(category);
    } else {
      result[firstLetter] = [category];
    }
  });

  return result;
}

export const getServerSideProps = createGetServerSideProps({ i18nNamespaces: [] }, async (context) => {
  const categories = await context.sdk.unified.getCategories({ ids: ['brands'] });
  const brands = categoriesToBrands(categories?.[0]?.subcategories);

  return {
    props: {
      brands,
    },
  };
});

export default function Brands({ brands }: InferGetServerSidePropsType<typeof getServerSideProps>) {
  const letters = Object.keys(brands);

  return (
    <DefaultLayout>
      <NarrowContainer>
        <h1 className="text-5xl text-center py-3">All Brands</h1>
        <div className="flex justify-between">
          {letters.map((letter) => (
            <SfLink key={`link-${letter}`} href={`#${letter}`}>
              {letter}
            </SfLink>
          ))}
        </div>
        <div className="divide-y">
          {letters.map((letter) => (
            <div key={letter} className="py-3 border-b-black" id={letter}>
              <h2 className="text-xl font-bold">{letter}</h2>
              <div className="columns-2 md:columns-3">
                {brands[letter].map((brand) => (
                  <div key={brand.id} className="py-1">
                    <SfLink href={appRoutes.category.slug.compile({ slug: brand.slug })}>{brand.name}</SfLink>
                  </div>
                ))}
              </div>
            </div>
          ))}
        </div>
      </NarrowContainer>
    </DefaultLayout>
  );
}
createGetServerSideProps is an Alokai-specific function that wraps the getServerSideProps function to:
- ensure that the required i18nNamespaces (for example "common", "footer", "message") are loaded
- ensure that a new SDK instance is returned with the correct request headers
- Lastly, we would like to add some custom translations to our page. We will translate the "All Brands" heading.
We could do this as by adding a new translation key to the "common" namespace. But for this example, we'll learn how to add a custom i18n namespace.
Create brands.json file in storefront-unified-nextjs/public/locales/en and storefront-unified-nextjs/public/locales/de.
{
    "allBrands": "All Brands"
}
{
    "allBrands": "Alle Marken"
}
Next, we need to load the new translation namespace for our brands page. We do it by specifying it in createGetServerSideProps:
- export const getServerSideProps = createGetServerSideProps({ i18nNamespaces: [] }, async (context) => {
+ export const getServerSideProps = createGetServerSideProps({ i18nNamespaces: ['brands'] }, async (context) => {
"common", "footer", "message" namespaces are loaded by default by createGetServerSideProps function.
Finally, we can use the translation:
+ import { Trans } from 'next-i18next';

// ...

    <h1 className="text-5xl text-center py-3">
+      <Trans ns="brands" i18nKey="allBrands">
        All Brands
+      </Trans>
    </h1>
Import the Trans component from next-i18next rather than react-i18next as this might lead to SSR issues.
You can find a complete project example in this repository: https://github.com/vsf-customer/extensibility-demo If you want to get access to it, contact our sales team.
Next: Customizing Unified Data Model
Learn how to add custom fields to the Unified Data Model