Creating layouts
In the previous guide, you have created a new dynamic page in Amplience and displayed it in your Alokai frontend. Now it's time to create a dynamic layout which will constitute the shell of your application visible on all routes.
Before following this guide, make sure you've followed the bootstrapping guides from the Getting started section.
Layout vs Page - what is the difference?
Layout and Page content types can be considered similar since they are both containers for other components. However, the difference lies in how you use them in your frontend application.
Most likely, your project will feature multiple Page entries (e.g. homepage, about, contact, blog), each of them containing its own set of components (e.g. Banner, Card, Grid). A different page entry will be requested whenever some user visiting your website will switch routes (e.g. from /about to /blog).
When it comes to layouts, your project will most likely feature only a few of them (e.g. default and error). This content type is there to "shelter" components such as MegaMenu and Footer which are supposed to be fetched once (on the initial page load) and stay the same for all routes.
Creating layout components
As you already know, Layout is just a container for components such as MegaMenu and Footer. In order to build it, we first have to create entries for these components in Amplience.
Creating your first MegaMenu
The journey starts in the Amplience Web App. Navigate to the Content tab and click the Create content button in the top right corner. Choose Mega Menu from the list of suggested content types.
A new editor window should pop up. Give your item a descriptive title, add assets for both mobile and desktop logos.
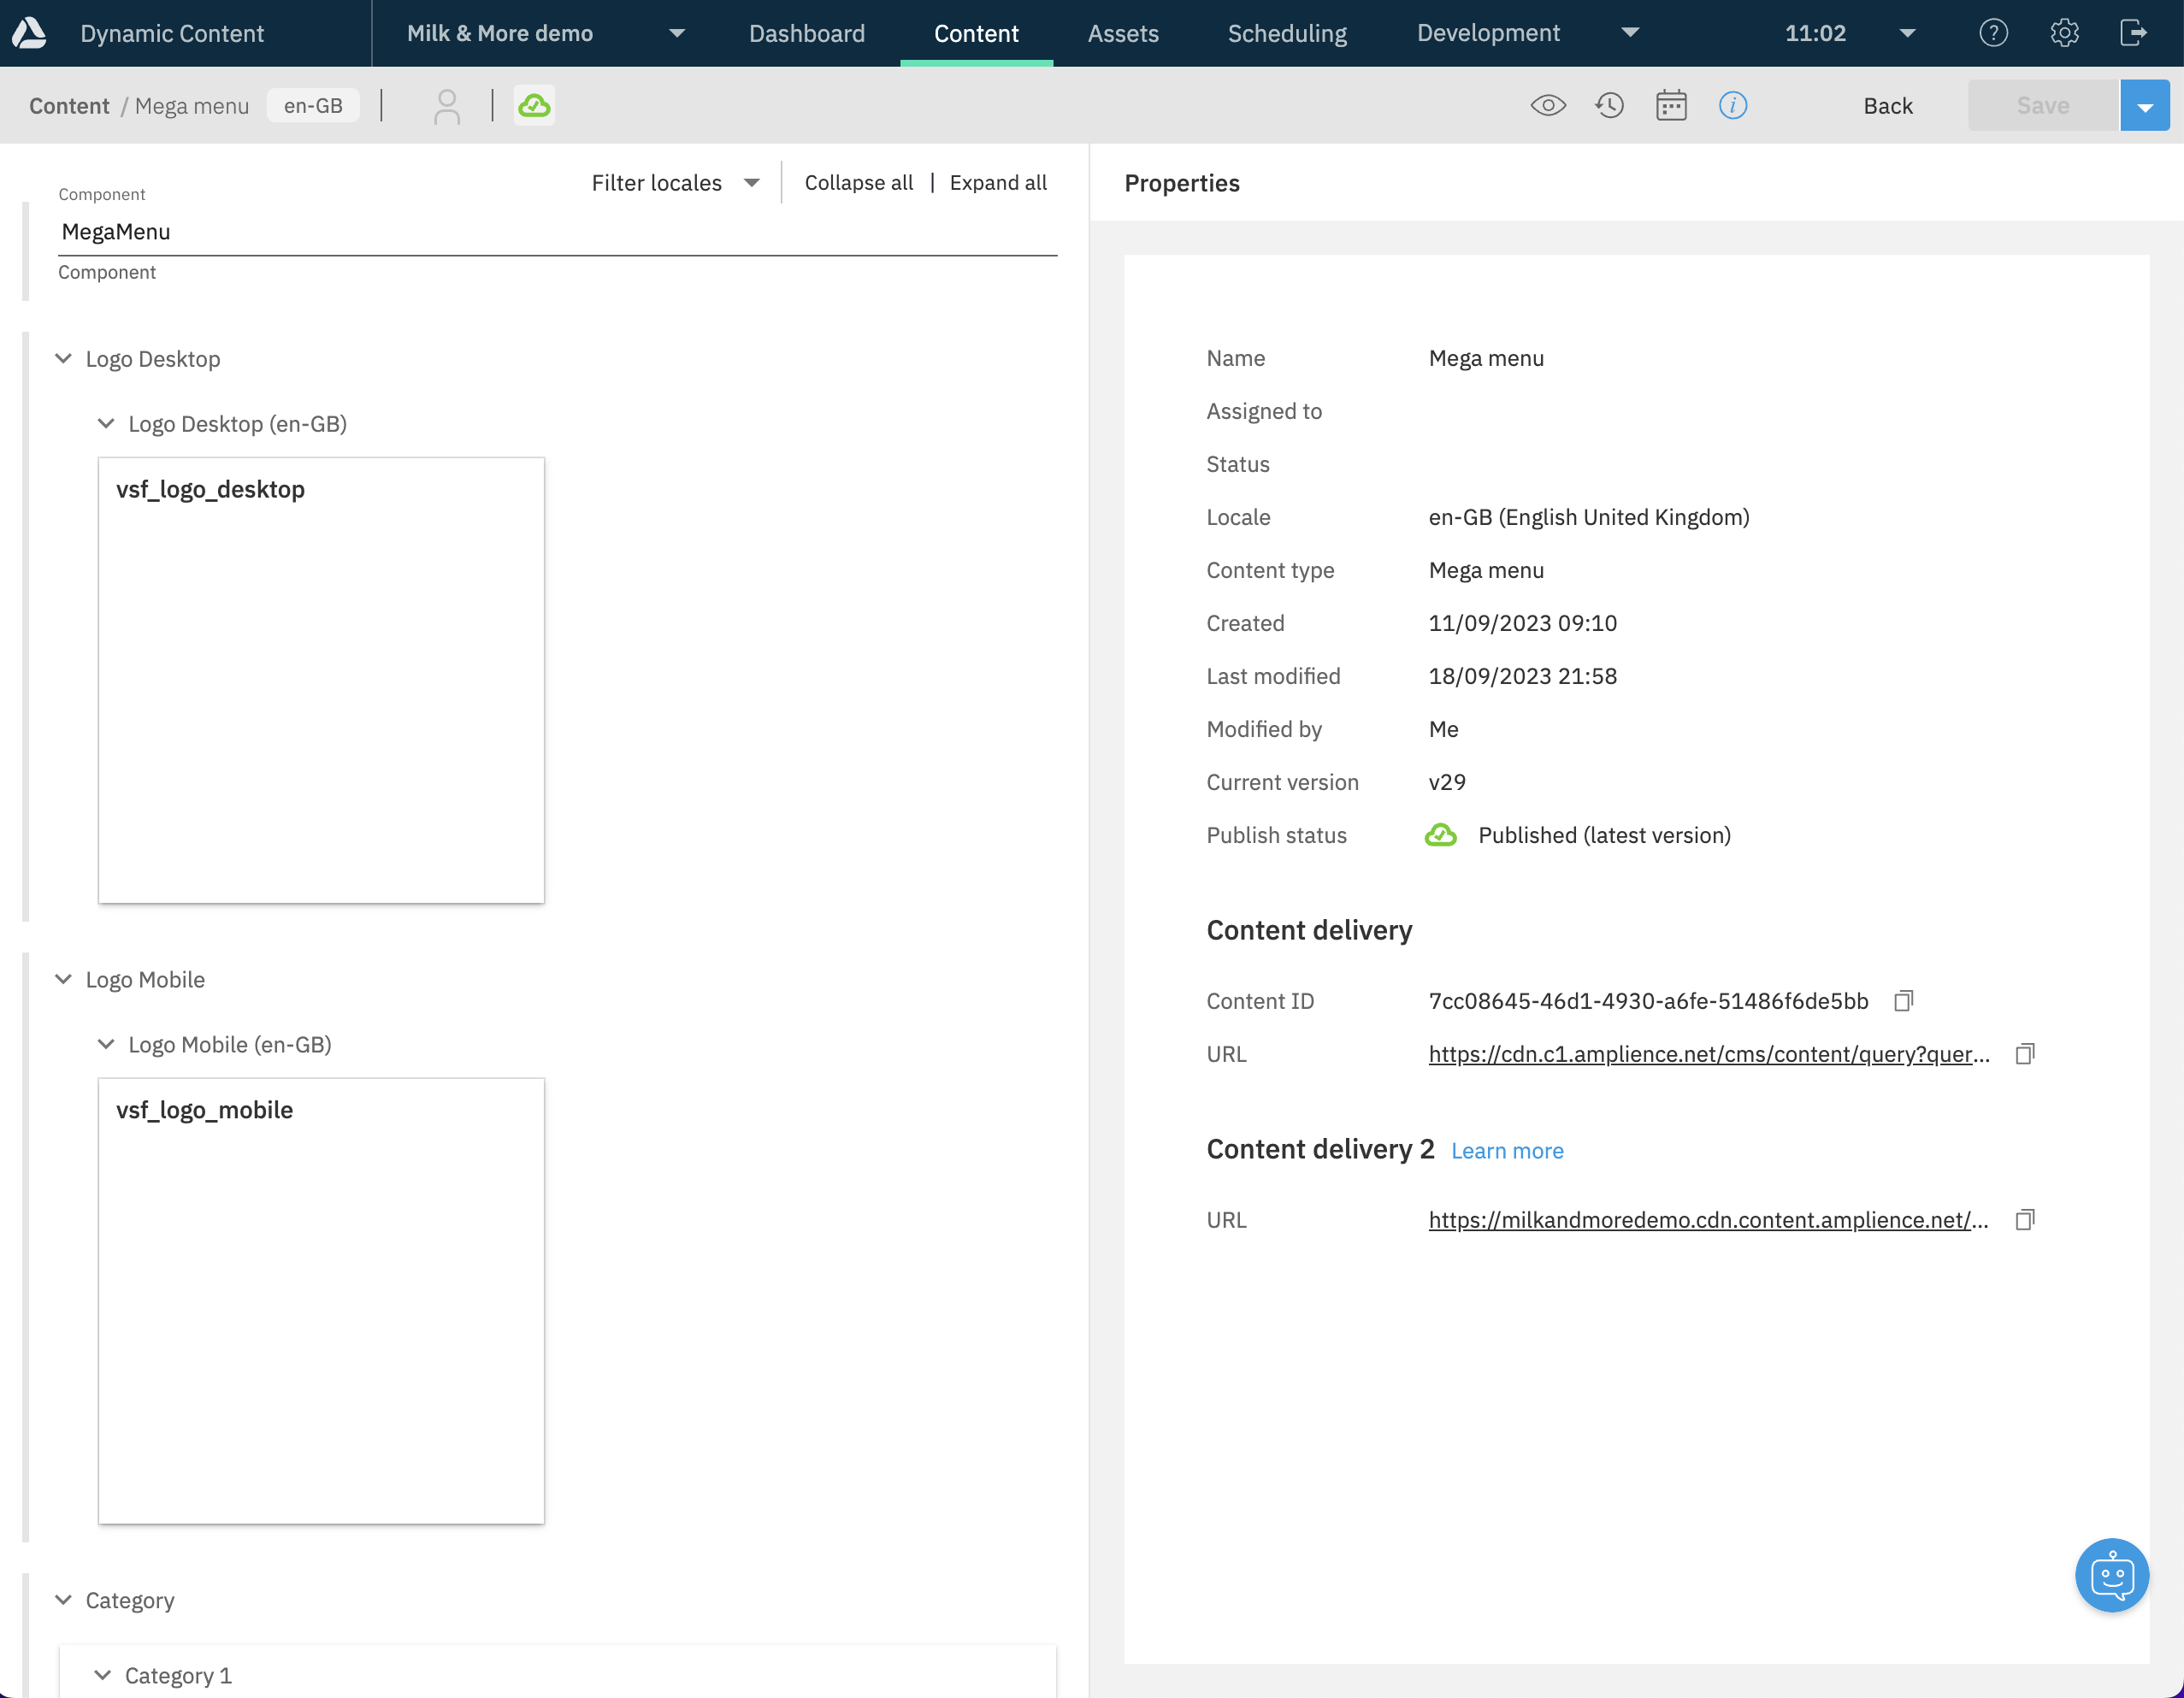
Next, click the Add Category button in the Category field and create a new Category item. It will comprise the navigation menu and will contain nested subcategories.
In this particular example, let's pretend we are creating a navigation menu for some apparel store. Create three new Category entries (nested within each other) so that the following menu structure is achieved:
const categories = {
  label: 'Women',
  subcategories: [
    {
      label: 'Activities',
      subcategories: [
        {
          label: 'Wearables',
          link: '/wearables'
        }
      ]
    }
  ]
}
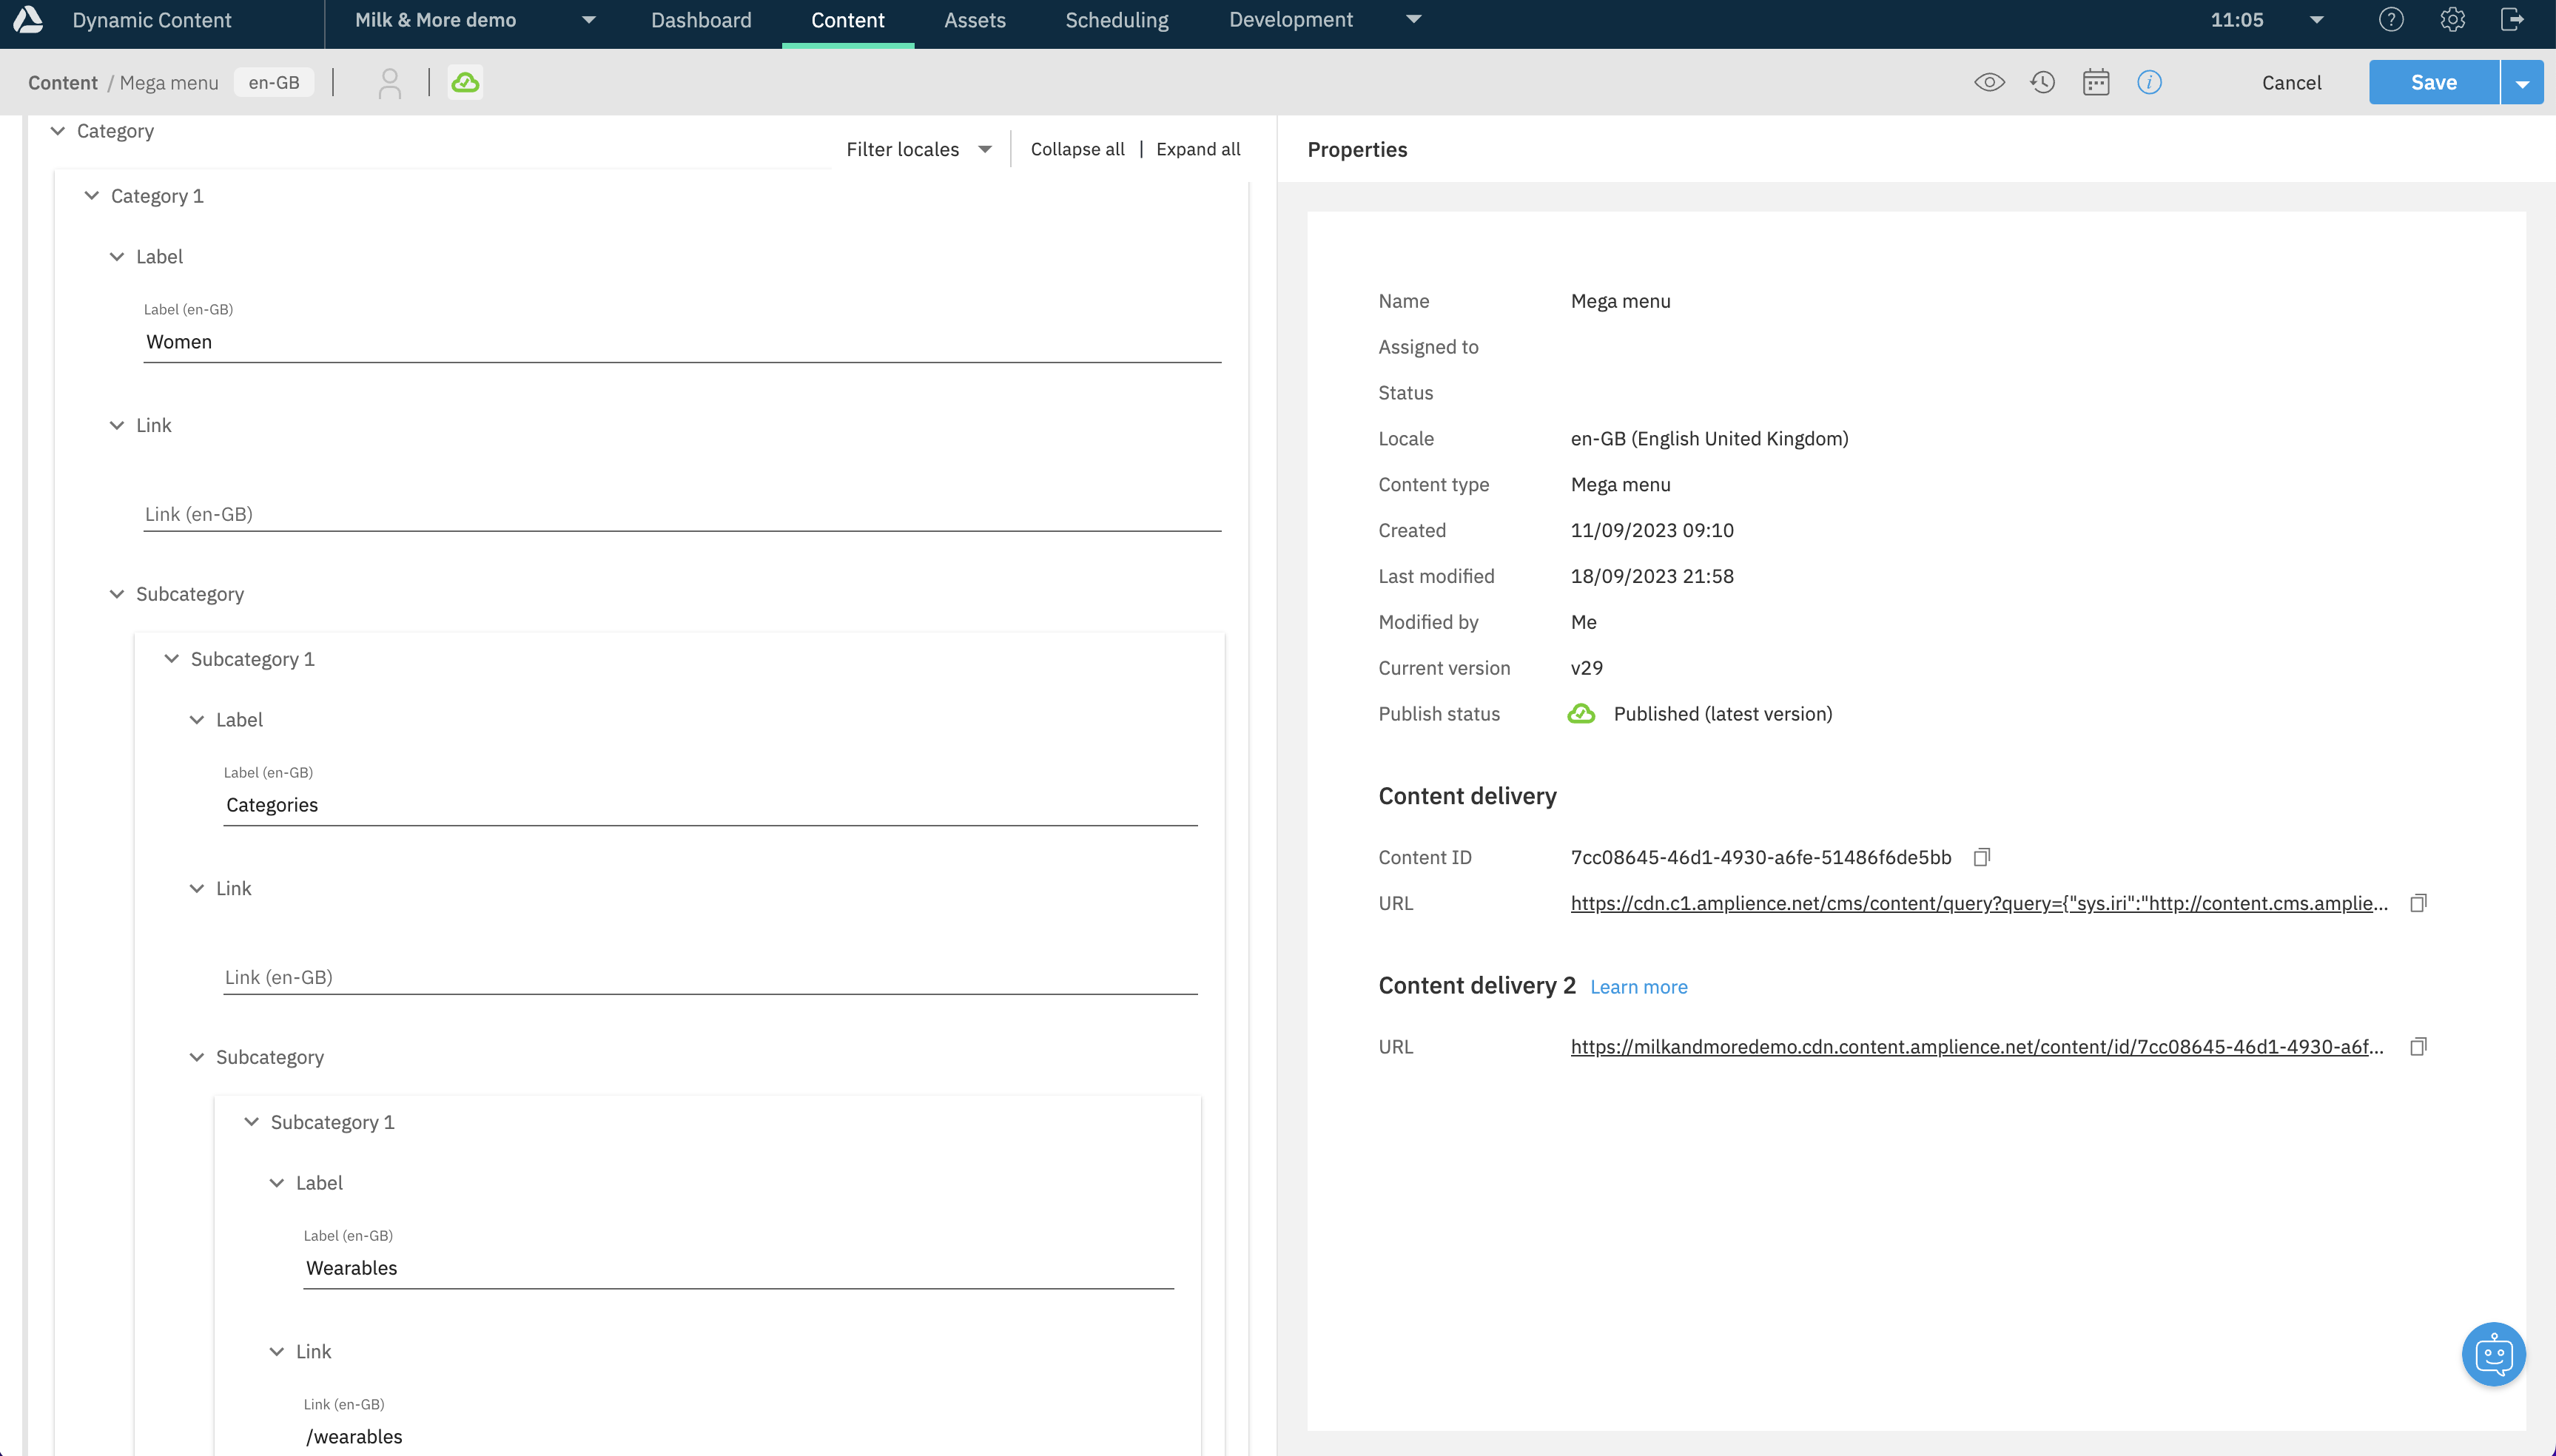
Once done, click the blue Save button in the top-right corner.
Creating your first Footer
Creating a Footer entry will look very similar to creating a MegaMenu item. Navigate back to the Content tab and click the Add content button in the top left corner. Choose Footer from the list of suggested content types.
A new editor window should pop up. Give your content item a descriptive title and add the navigation tree through the Category field. This time we want to achieve a little bit shorter structure:
const categories = {
  label: 'How to buy',
  subcategories: [
    {
      label: 'Payment methods',
      link: '/payment'
    }
  ]
}
Additionally, you could also add Bottom links for text links that appears on the bottom line of the footer. In the end, your footer should look like this:
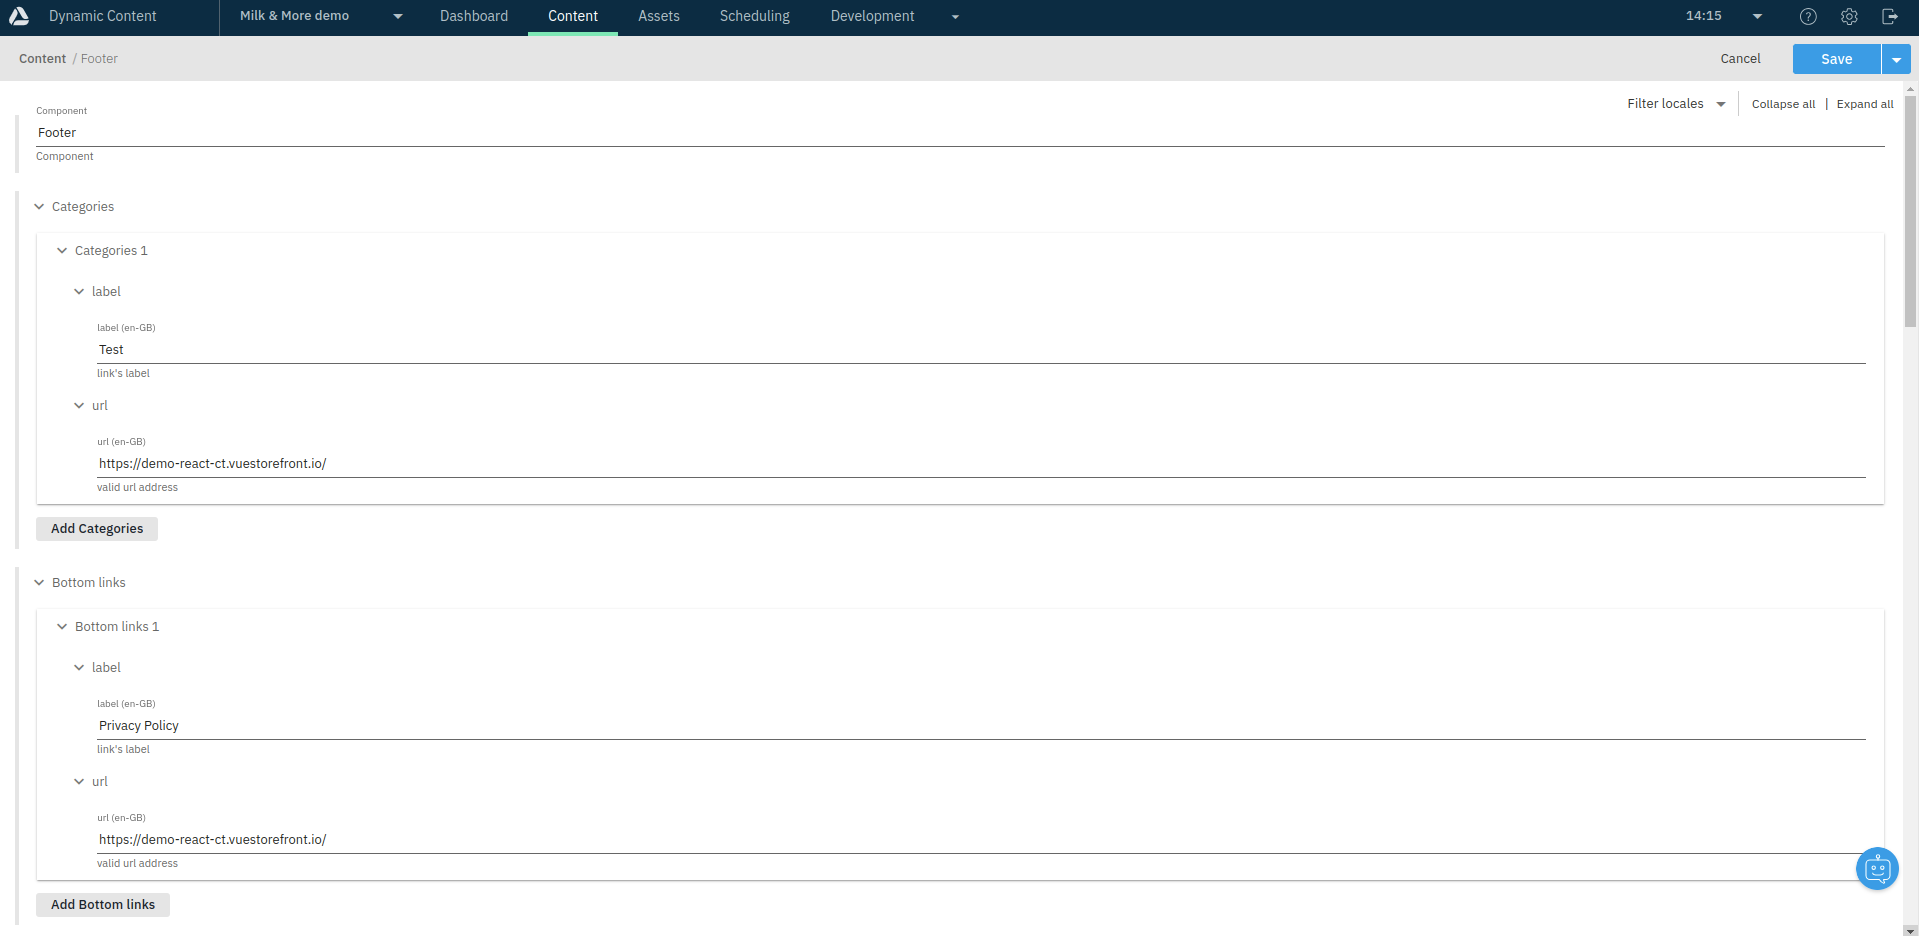
Once done, click the blue Save button in the top-right corner.
Creating your first layout
With new MegaMenu and Footer content items in place, you can finally build your first layout. Navigate to the Content tab and click the Create content button in the top left corner. Choose Layout from the list of suggested content types.
A new editor window should pop up. In the MegaMenu and Footer fields click on the + icon and select content items you've created in the previous section.
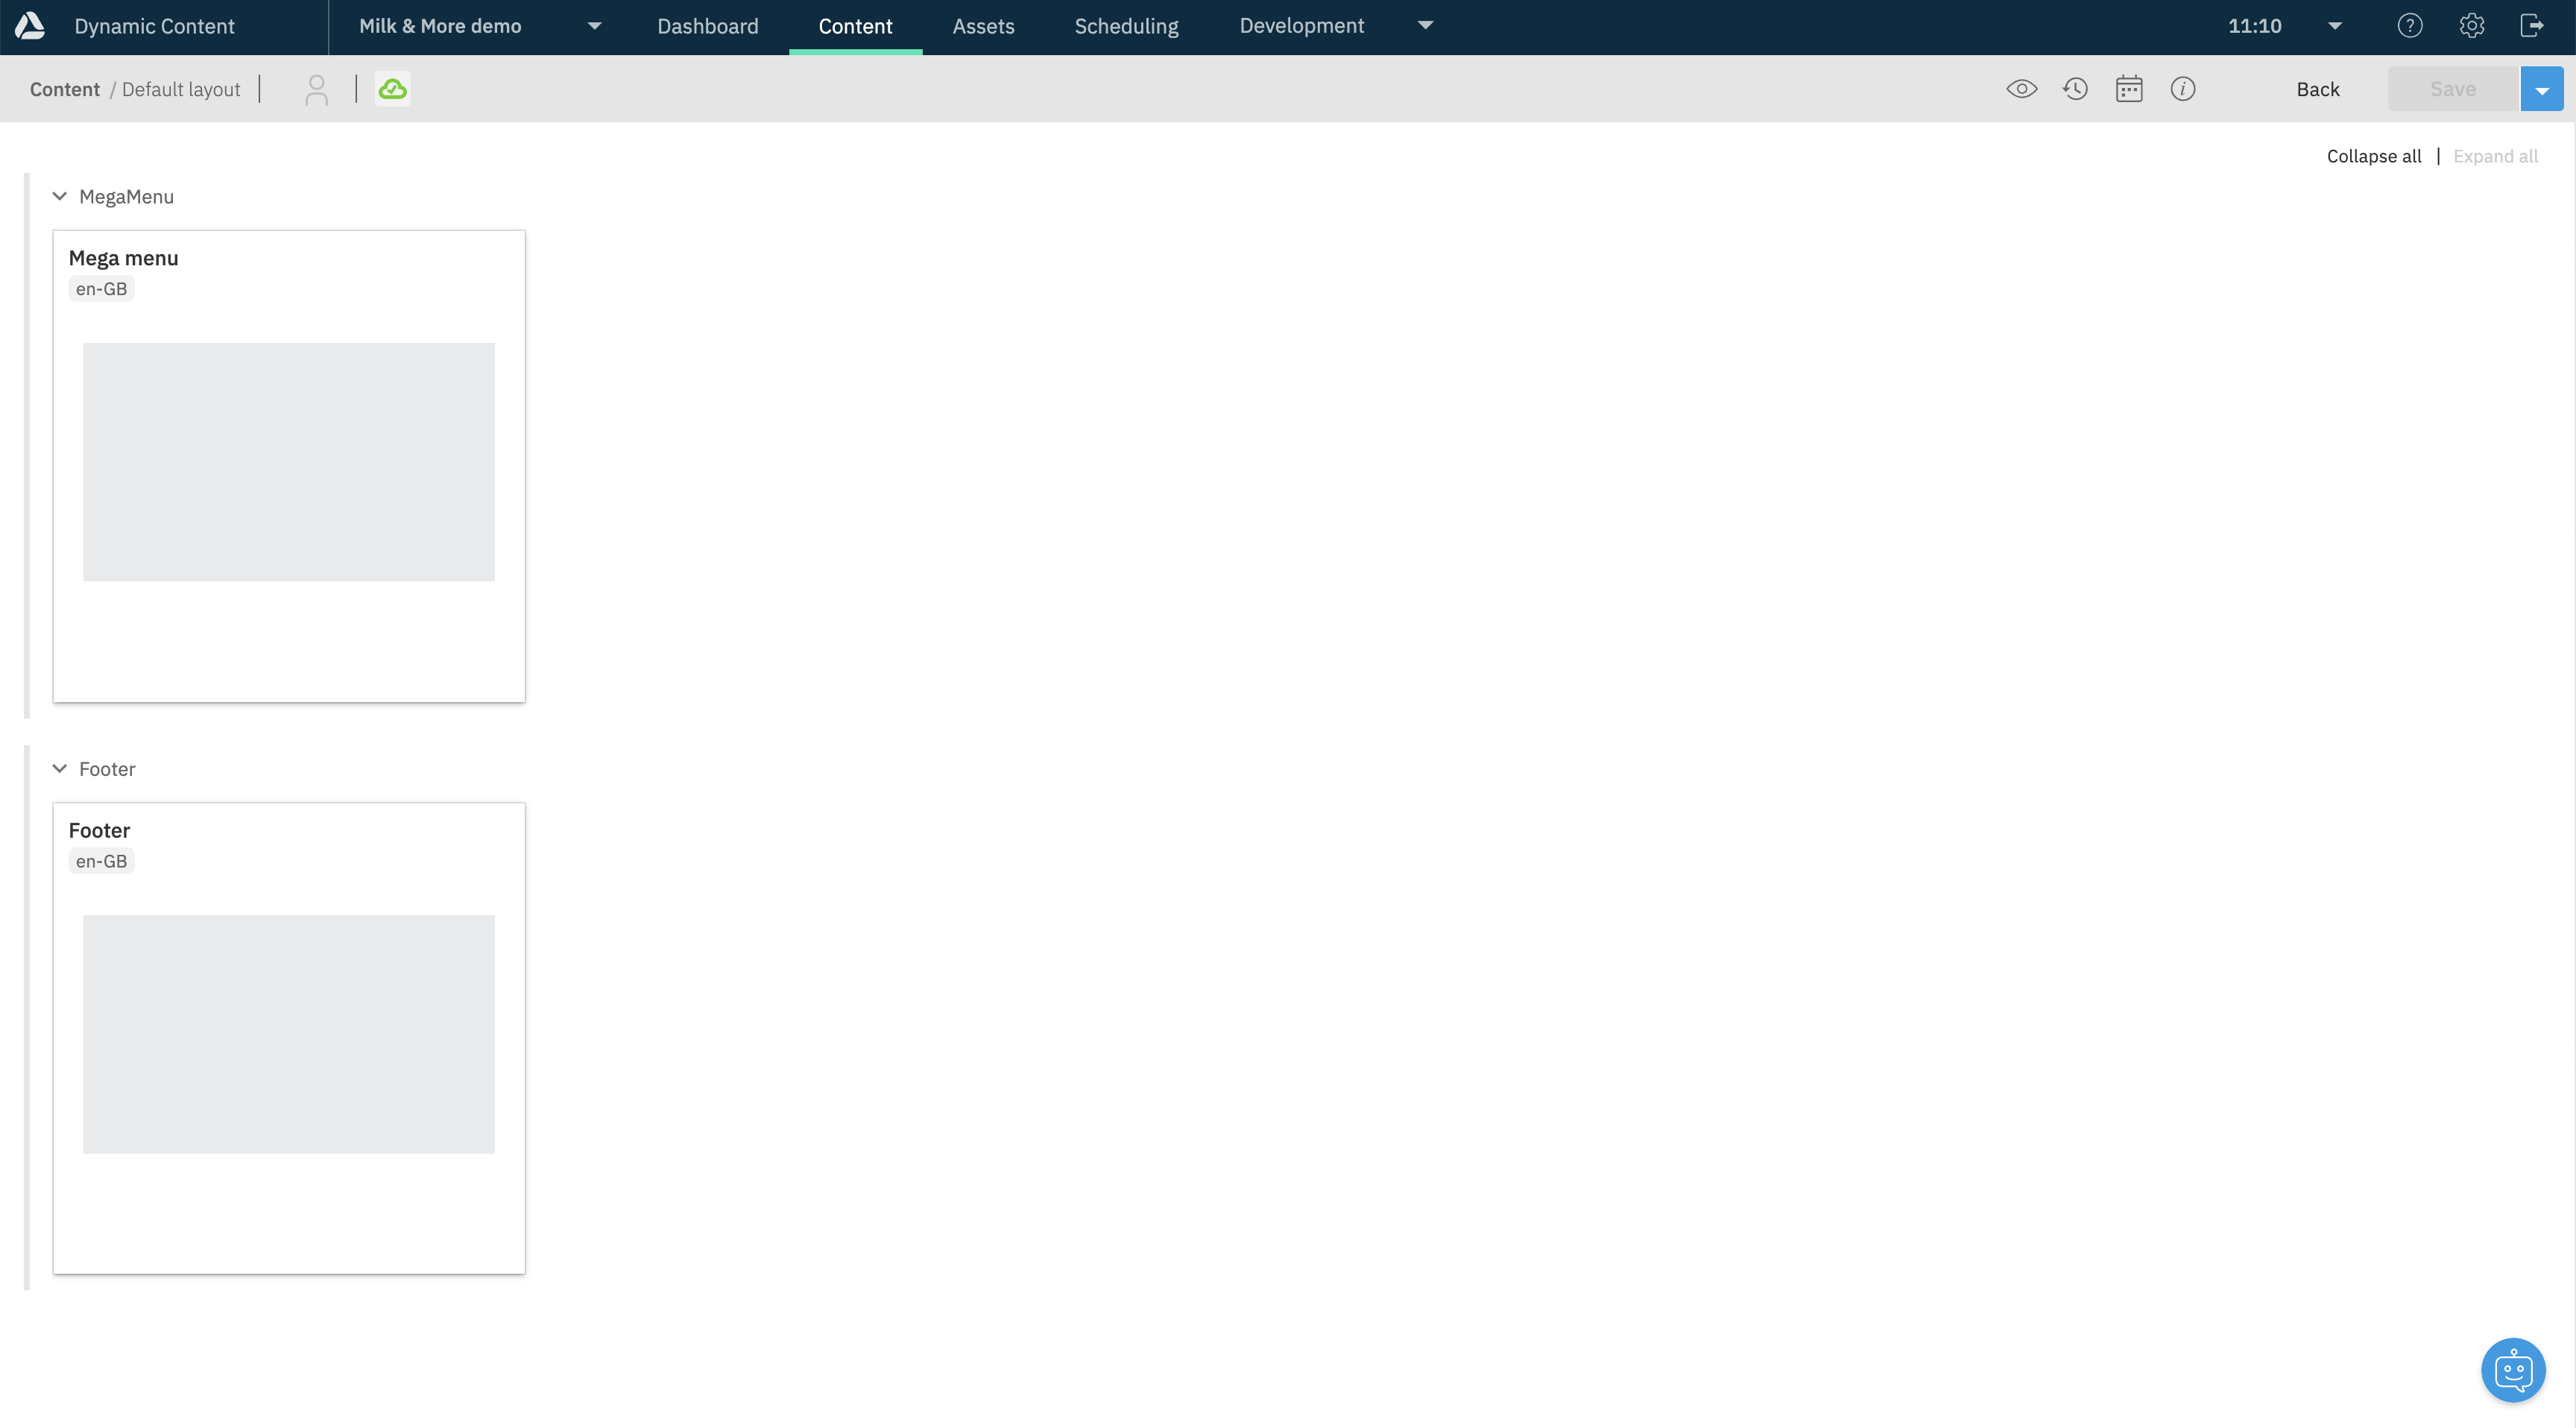
Finally, give your new layout a deliveryKey. Click the dropdown arrow in the top-right corner and select "Delivery key" from the list. Set it to some unique value. You will use it later in your frontend application to fetch the new layout.
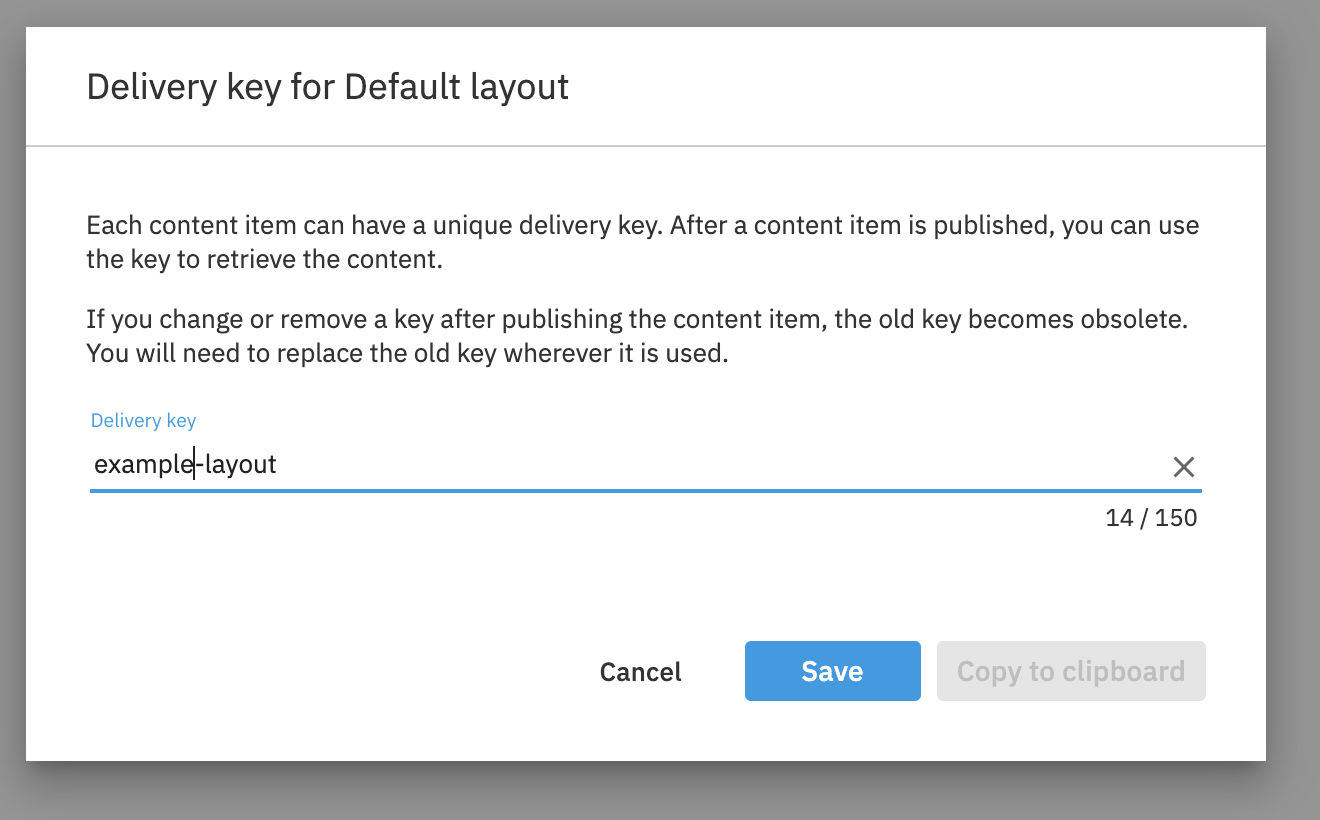
Once done, save and publish your new layout by clicking the blue dropdown arrow in the top-right corner and selecting "Save and publish" from the list.
Fetching your first layout
The last thing is making sure you are fetching the newly-created layout in your application. You can do it by calling the getContentItems() SDK method with the right arguments:
import { sdk } from '~/sdk.config';

const { responses } = await sdk.amplience.getContentItems([
  { key: "example-layout" }
]);
If you had bootstrapped your frontend with one of our guides in the Getting started section, this code should already be present in one of your components:
Assuming your storefront is running on http://localhost:3333, you should be able to see your new dynamic layout (i.e. MegaMenu and Footer) on your example page.
