Connecting Product Details Page with SAP Commerce Cloud
In the previous step, we have created a template for the a product details page using Storefront UI. Now, we will connect it with the SAP Commerce Cloud backend to display the product details.
Fetching Products from SAP Commerce Cloud
In chapter 4 (First Request) we displayed a list of products from SAP CC on homepage. Now let's make that list link to product details pages
Replace the content of the app/page.tsx with the following code:
import { getSdk } from "@/sdk/sdk";
import Link from "next/link";

const sdk = getSdk();

export default async function Page() {
  const {
    data: { products },
  } = await sdk.sapcc.getProducts({});

  return (
    <div className="mx-auto px-6 py-4">
      <h1>Product List:</h1>
      <ul>
        {products?.map((product) => (
          <li key={product.code} className="my-1">
            <Link
              href={`/product/${product.code}`}
              key={product.code}
              className="text-blue-500 underline"
            >
              {product.name}
            </Link>
          </li>
        ))}
      </ul>
    </div>
  );
}
Now, when you click on a product, you will be redirected to the product details page.
Fetching Product Details from SAP Commerce Cloud
Now, we need to fetch the product details from the SAP Commerce Cloud backend to display the product details on the product details page.
We want to put data fetching logic on the server. To be able to do so we need to move "use client" directive from app/product/[id]/page.tsx
to the component files.
Add "use client" on top of ProductDetails.tsx, ProductGallery.tsx, and ProductSlider.tsx files as follows:
// ProductGallery.tsx
"use client";

// ... rest of the code
In the app/product/[id]/page.tsx file, let's make some changes to fetch the product details from the backend. The final code of the app/product/[id]/page.tsx file should look like this:
import ProductDetails from "@/components/ProductDetails";
import ProductGallery from "@/components/ProductGallery";
import ProductSlider from "@/components/ProductSlider";
import { getSdk } from "@/sdk/sdk";
export default async function Page({ params }: { params: { id: string } }) {
const sdk = getSdk();
const { data } = await sdk.sapcc.getProduct({
productCode: params.id,
});
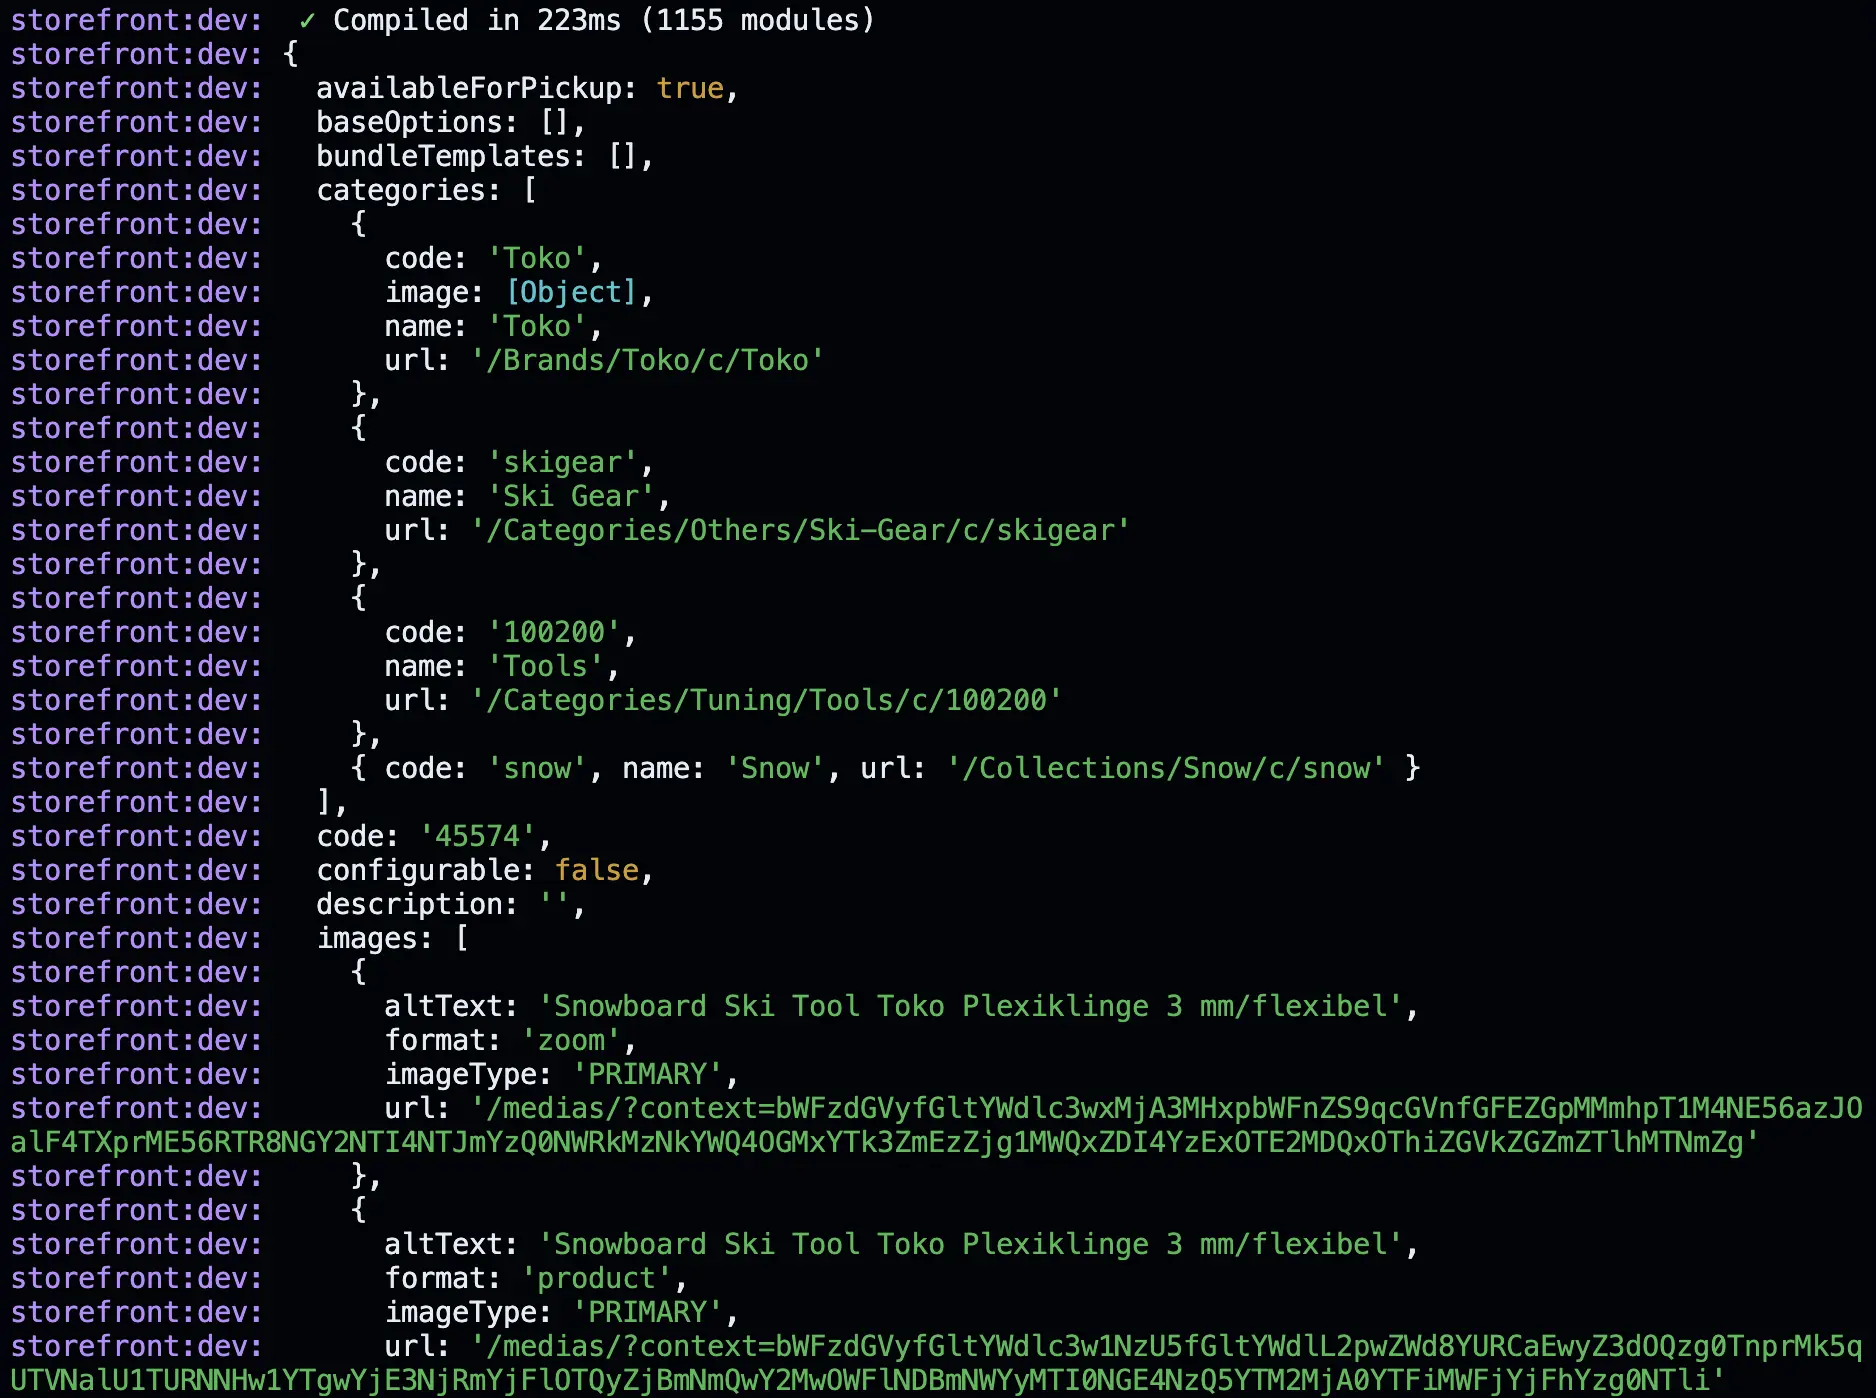
console.log(data);
return (
<div className="flex flex-col gap-8 md:gap-12 lg:gap-16 max-w-screen-xl m-auto px-4 md:px-8 lg:px-12 xl:px-16 py-8 md:py-12 lg:py-16 xl:py-20">
<section className="flex flex-col items-start gap-8 md:flex-row md:gap-4 xl:gap-6">
<ProductGallery />
<ProductDetails />
</section>
<ProductSlider />
</div>
);
}
In the above code, we have used the getSdk function to create a new instance of the Alokai SDK. We have used the getProduct method to fetch the product details from the backend. We have used the params object to get the code of the product from the URL. We have used the console.log function to log the product details to the console. Once you visit the product details page, you will see the product details logged to the console as shown below:
Now, we have successfully connected the product details page with the SAP Commerce Cloud backend. In the next step, we will display the product details on the product details page.
Displaying Product Details
Storefront UI Blocks are designed to be used with any backend and it does not follow any specific data structure. We need to map the data from the SAP Commerce Cloud backend to the Storefront UI Blocks to display the product details.
ProductDetails Block
Let's start by creating a TypeScript interface for the props of the ProductDetails Block.
In order to simplify the type definition, we will install the @vsf-enterprise/sap-commerce-webservices-sdk type definitions package. This package contains all SAP Commerce Cloud native types. Run the following command in the root of your project to install the package:
npm install @vsf-enterprise/sap-commerce-webservices-sdkOpen the app/components/ProductDetails.tsx file and add the following code at the top of the file:
import { Product } from '@vsf-enterprise/sap-commerce-webservices-sdk';

interface ProductDetailsProps {
  product: Product;
}
Now, we will use the ProductDetailsProps interface to define the type of the props of the ProductDetails component. Replace the content of the app/components/ProductDetails.tsx file with the following code:
- export default function ProductDetails() {
+ export default function ProductDetails({ product }: ProductDetailsProps) {
Now, let's pass the product prop to the ProductDetails component in the app/product/[id]/page.tsx file. Replace the content of the app/product/[id]/page.tsx file with the following code:
- <ProductDetails />
+ <ProductDetails product={data} />
We also need to make some changes in the ProductDetails Block to conform to the new type definition. Let's replace all hardcoded values with the values from the product prop. Open the app/components/ProductDetails.tsx file and replace the content of ProductDetails function with the following code:
- const max = 999;
+ const max = product.stock?.stockLevel ?? 1;
- Mini Foldable Drone with HD Camera FPV Wifi RC Quadcopter
+ {product.name}
- <strong className="block font-bold typography-headline-3">$2,345.99</strong>
+ <strong className="block font-bold typography-headline-3">{product.price?.currencyIso} {product.price?.value}</strong>
- 123
+ {product.numberOfReviews}
- 123 reviews
+ {product.numberOfReviews} reviews
- <ul className="mb-4 font-normal typography-text-sm">
- <li>HD Pictures & Videos and FPV Function</li>
- <li>Intelligent Voice Control</li>
- <li>Multiple Fun Flights</li>
- <li>Easy to Use</li>
- <li>Foldable Design & Double Flight Time</li>
- </ul>
+ <p className="mb-4 font-normal typography-text-sm"
+ dangerouslySetInnerHTML={{ __html: product.summary ?? '' }}
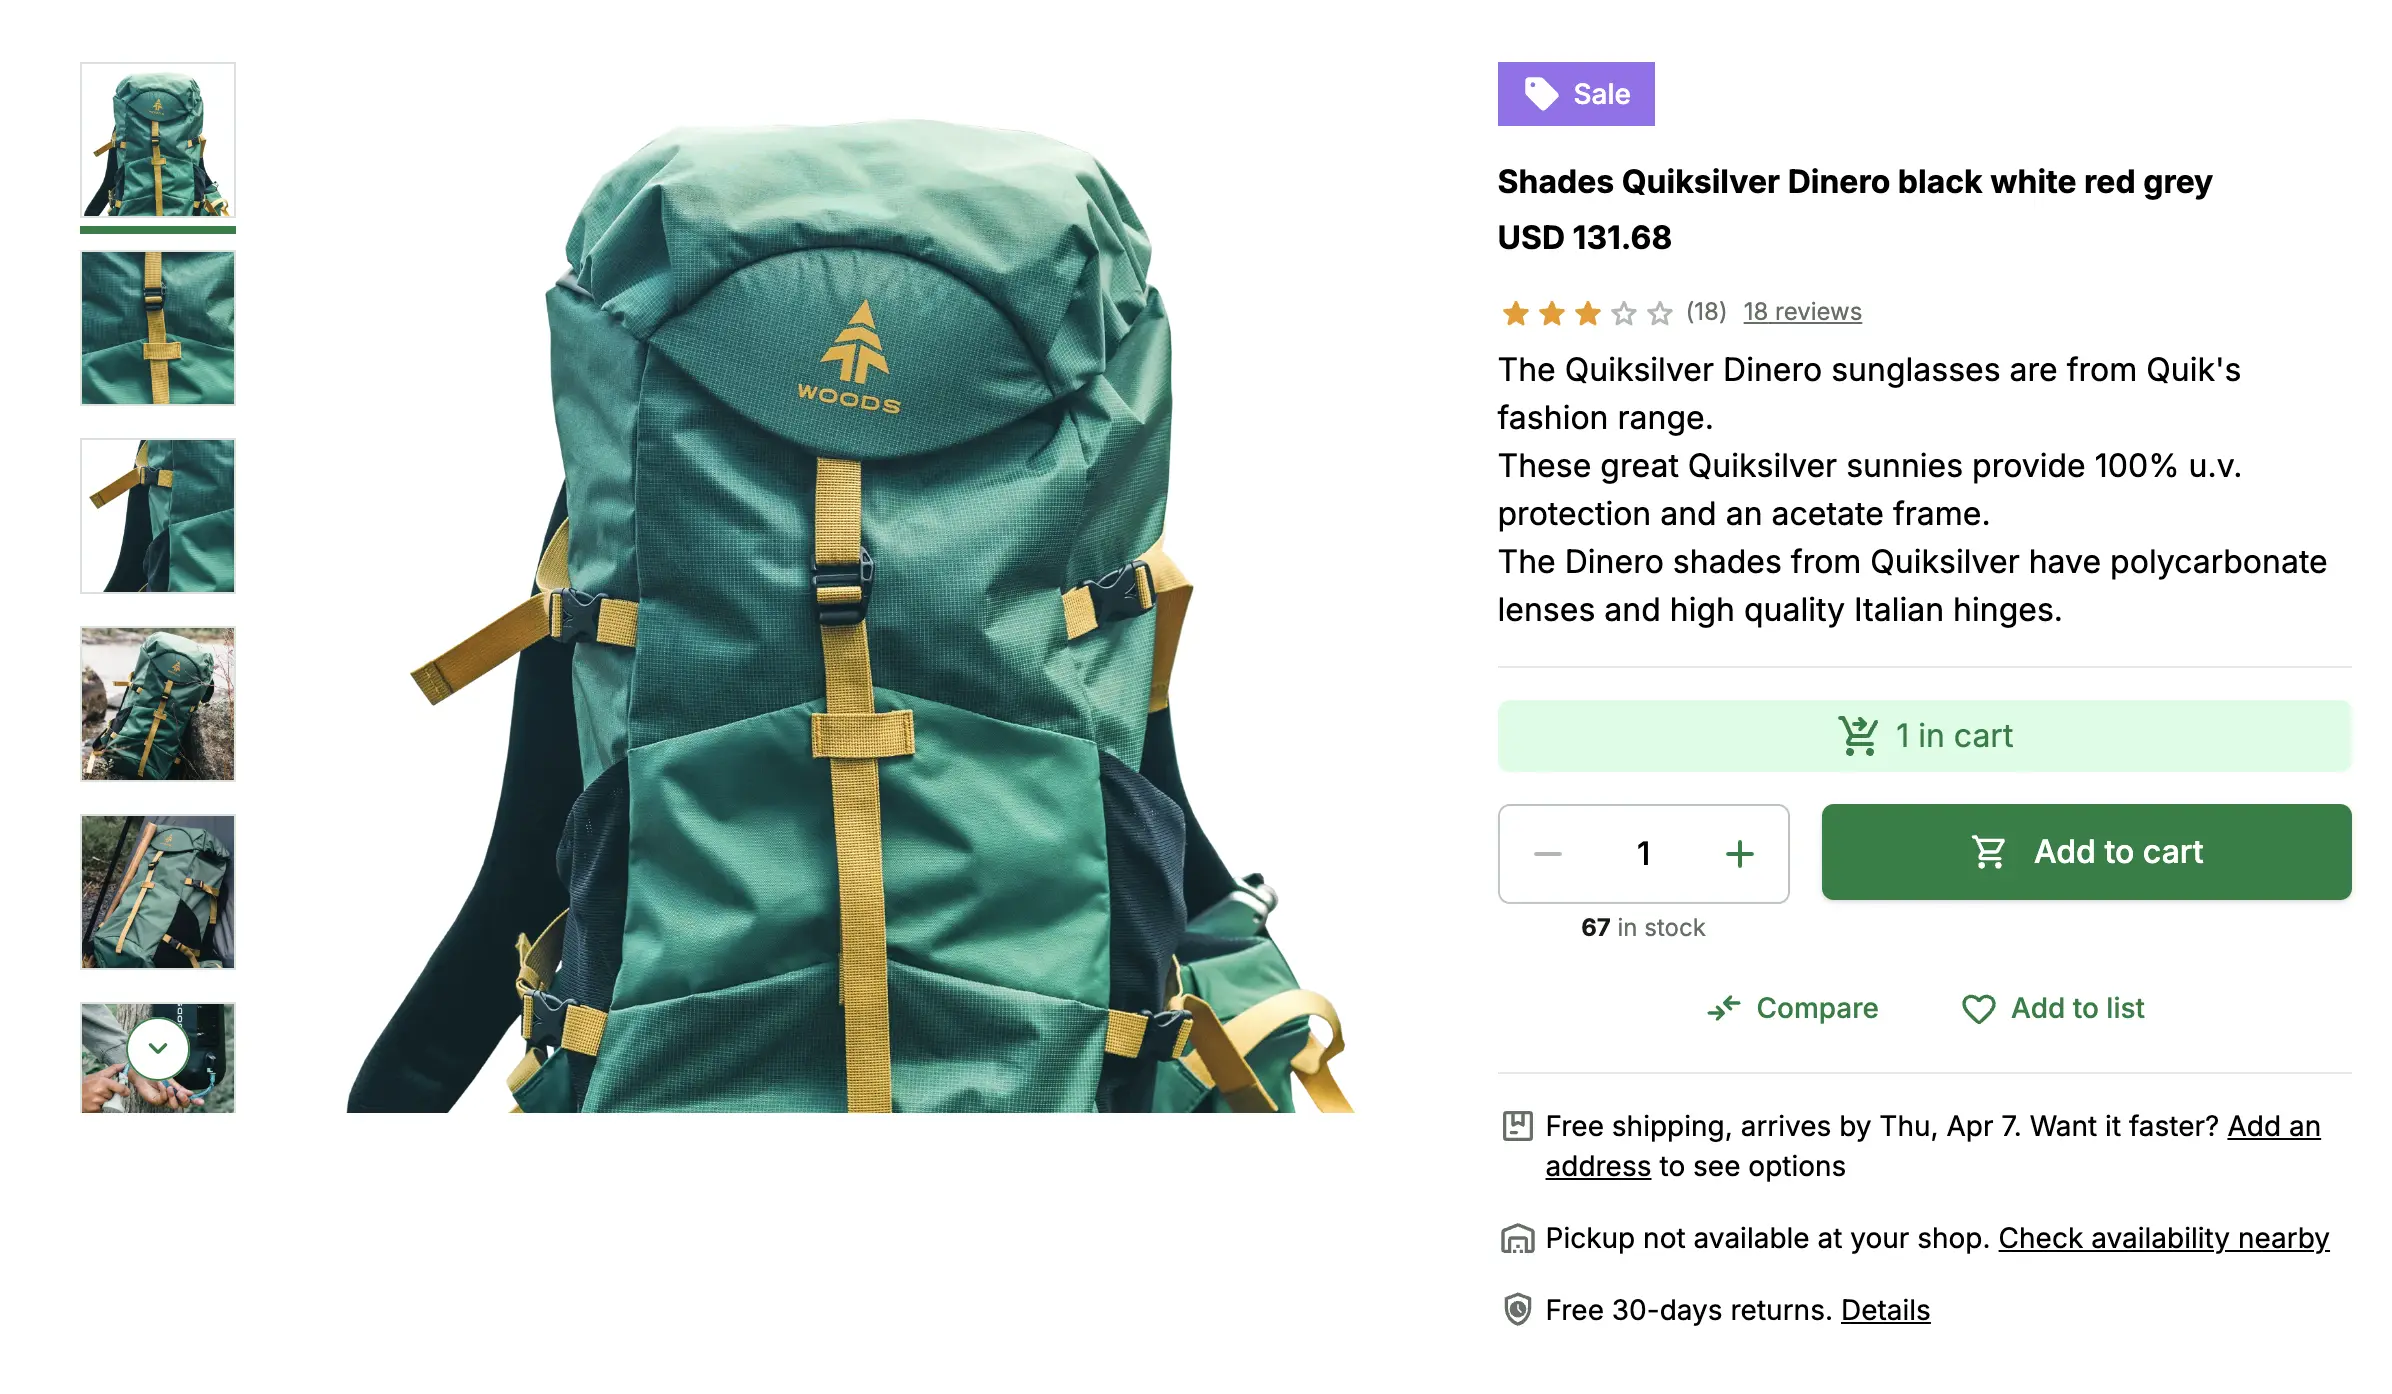
+ />Now, save the changes and run the application. Now, when you visit the product details page, you will see the product details displayed correctly. Image gallery is still hardcoded though. SAP Commerce Cloud returns images in a bit complex format so we'll leave it as it is for now. We'll leverage Unified Data Layer in the last chapter to solve this problem.
I'll leave the ProductSlider Block for you to implement. I would recommend you to start with looking at the product.productReferences property in the product details response. This property contains the list of related products. You can use this property to display the related products in the ProductSlider Block.
You can find the complete implementation in the connecting-pdp branch
Summary
In this section, we have created a new product details page using Storefront UI. We have connected it with the SAP Commerce Cloud backend to display the product details. We have fetched the list of products from the backend and displayed links to products on the homepage. We have also fetched the product details from the backend and displayed the product details on the product details page.
So far we have learned how to get the data and display it in the Storefront UI Blocks. In the next step, we will learn how to add the product to the cart and display the cart details.