



Getting around
Sign in to Connect Admin and learn what every part of the panel is for.
This section of the documentation is written for everyone who edits content in Connect Admin - marketers, merchandisers, and anyone else on the business side. You don't need any technical knowledge to follow it. If you're a developer setting the panel up for your team, the For Developers section is the right place to start.
Signing in
Connect Admin runs in your browser - no installation is needed. The address always ends in /connect-admin - for example https://admin.your-company.com/connect-admin. The first part of the address is different for every project, and a project can have more than one panel - for example one for the staging site and one for the production site. Ask your team for the exact link.
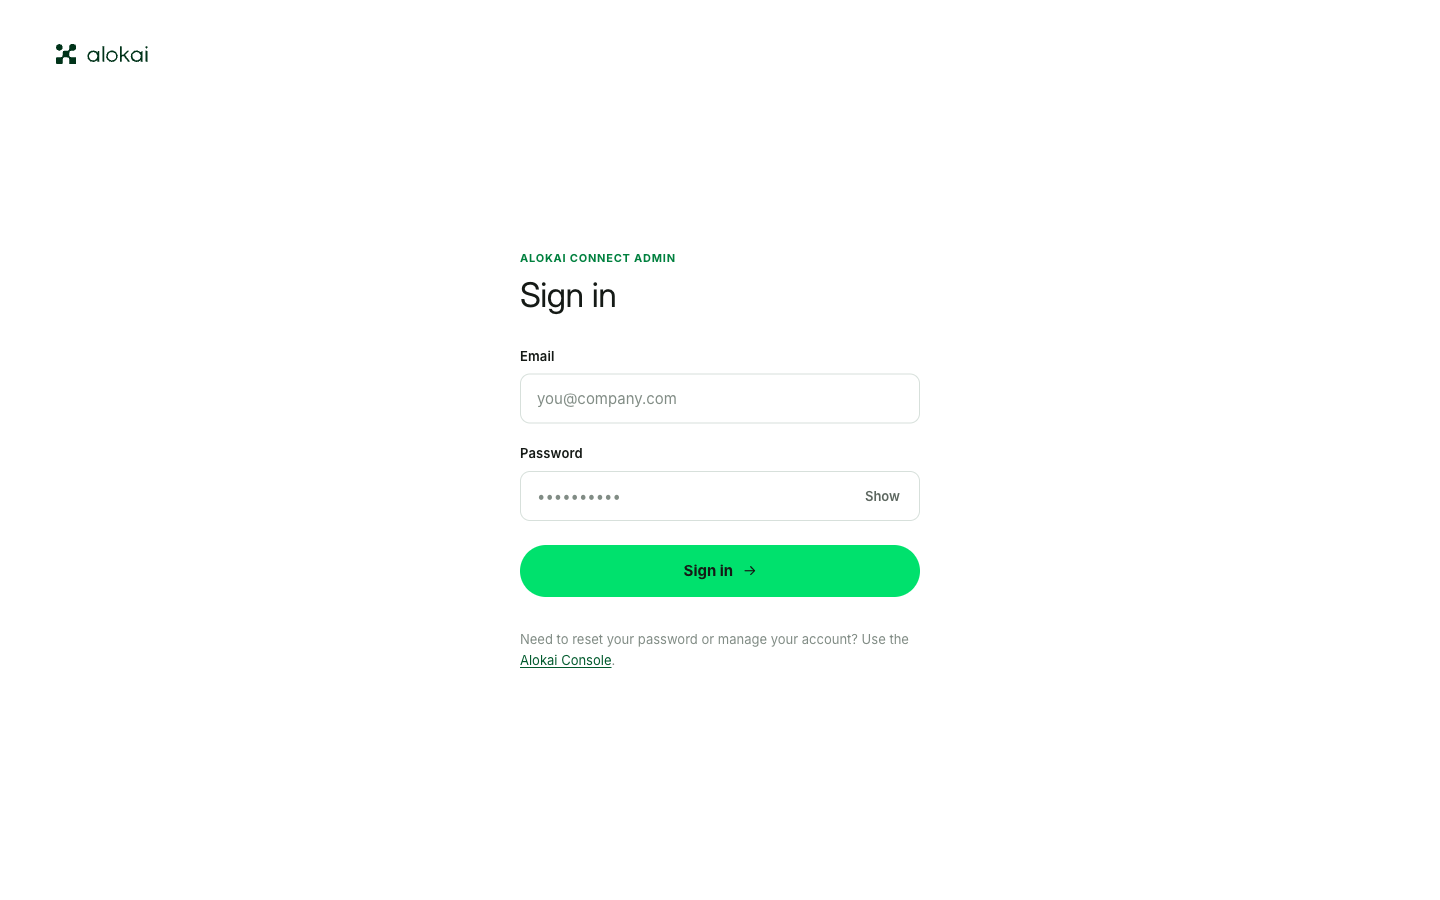
When you open the address, you're asked to sign in with your email and password.
Where do the credentials come from?
Connect Admin accounts are set up by the Alokai team. If you don't have your credentials yet, please contact the Alokai team.
What you see after signing in
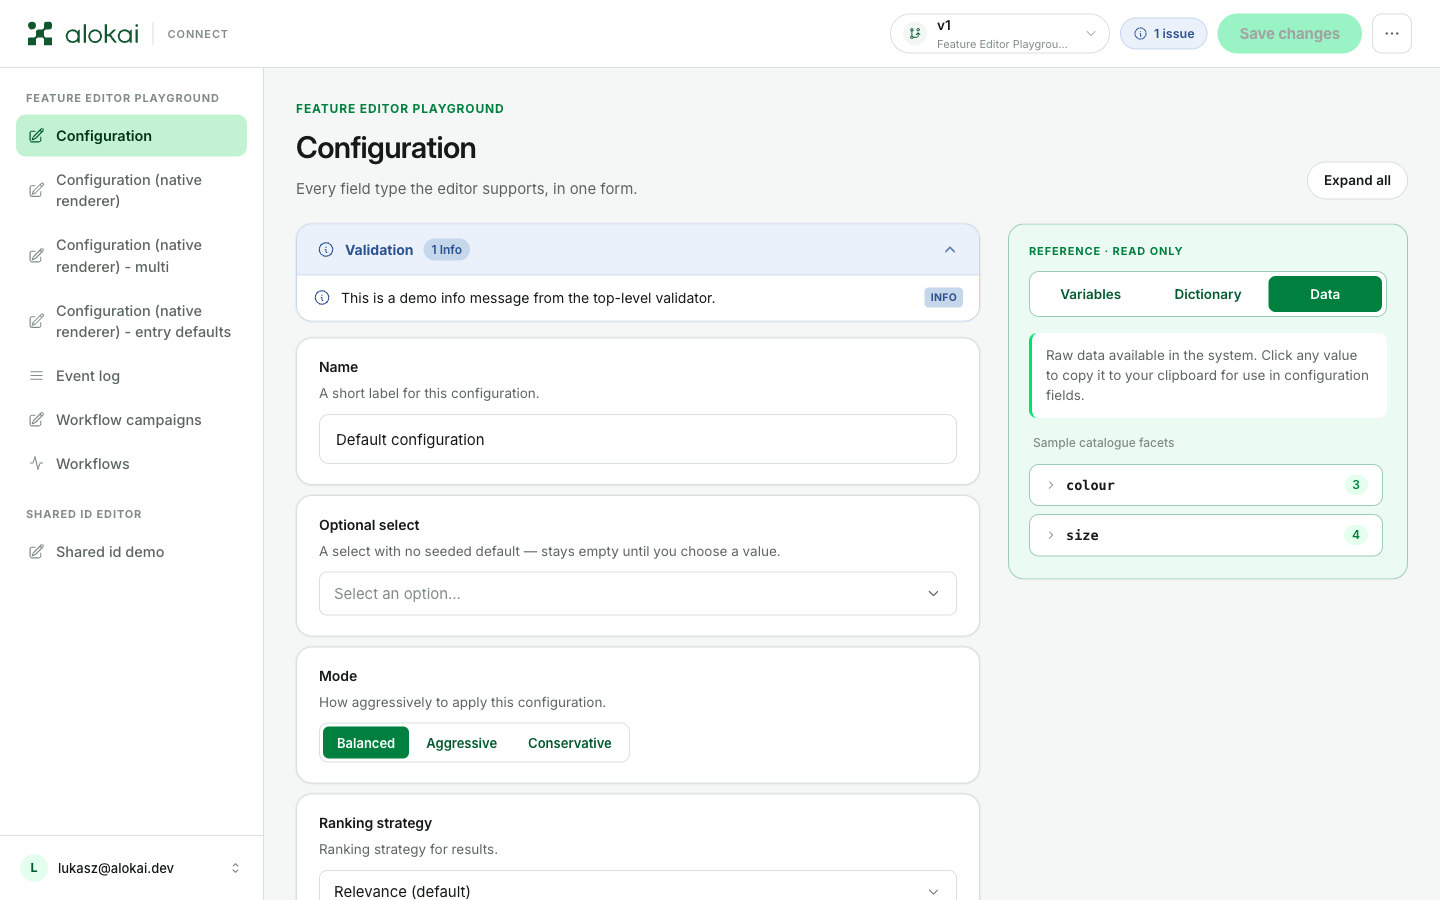
The sidebar on the left lists the screens your developers set up for your project. Every project has a different list, because the screens are built around what your team needs to manage. Each screen is one of three kinds:
| Kind of screen | What you do there |
|---|---|
| Form | Fill in values - texts, switches, choices - and publish them to the site. |
| List | Browse records, search through them, and act on single rows or on the list as a whole. |
| Workflows | Start step-by-step jobs, follow their progress, check each step's results and logs, and approve them when they pause for review. |
You'll quickly learn which of your screens is which: a form shows editable fields, a list shows rows of records, and a workflows screen shows the jobs your team set up. A workflows screen has no start button of its own - you open a workflow from the list first, and Run workflow is on the workflow's own page.
Every screen also has its own web address, so you can link a colleague straight to a specific screen.
Guides
Some screens come with a built-in guide, written by your own team for that exact screen. If a screen has one, a Guide button appears in the top bar, with a small green dot when you haven't read the guide yet.
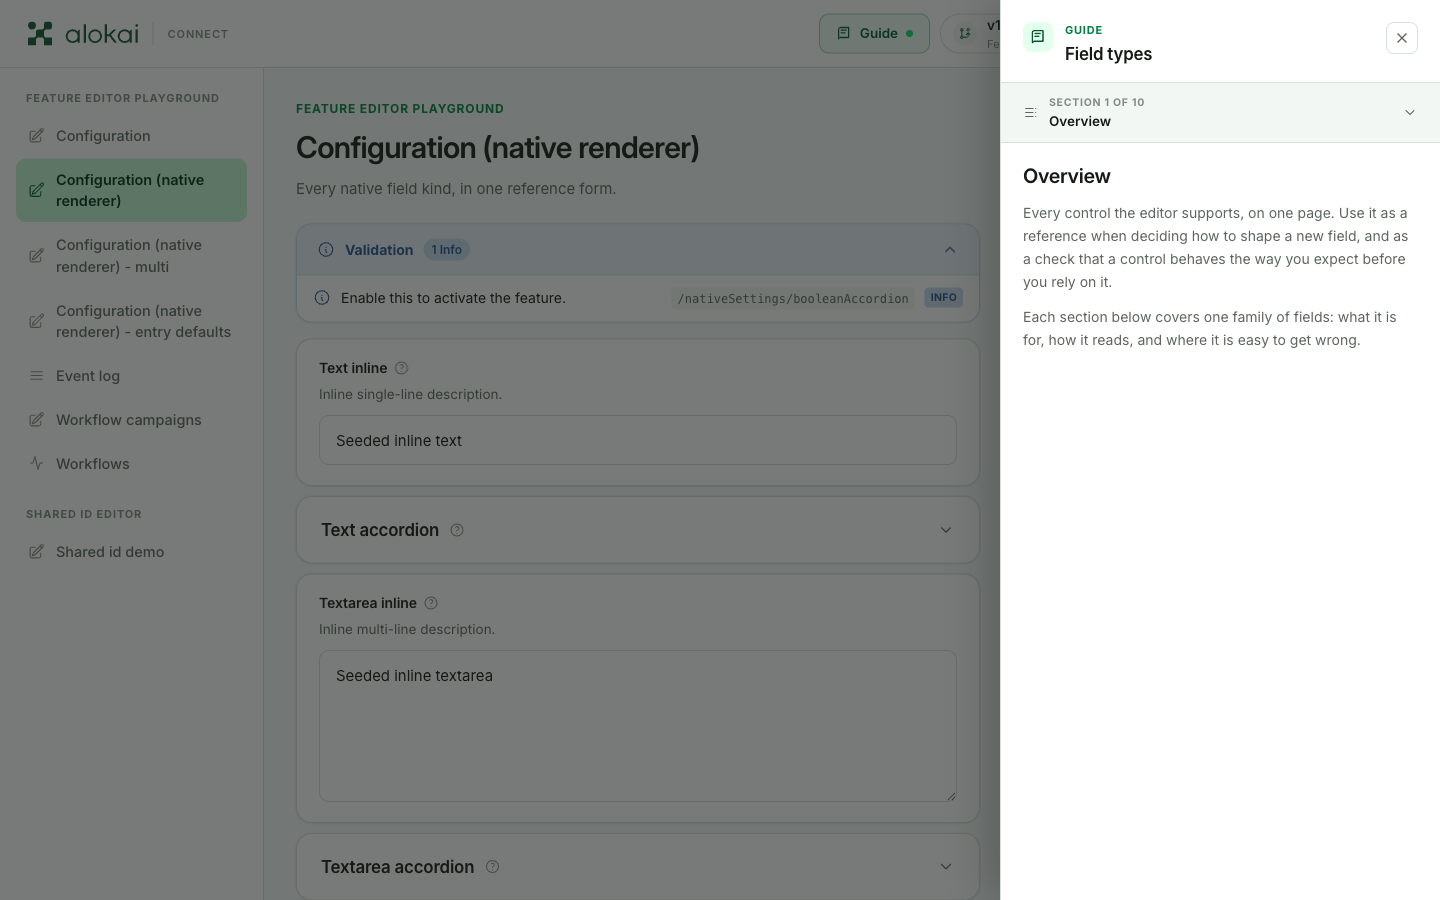
Clicking the button opens the guide in a panel on the right. A guide can have several sections, shown one at a time. The header at the top of the panel tells you where you are - click it to unfold the full list of sections and jump to any of them. Pictures in a guide enlarge when you click them.
When in doubt on a screen, start with its guide - it describes that exact screen, not the panel in general.